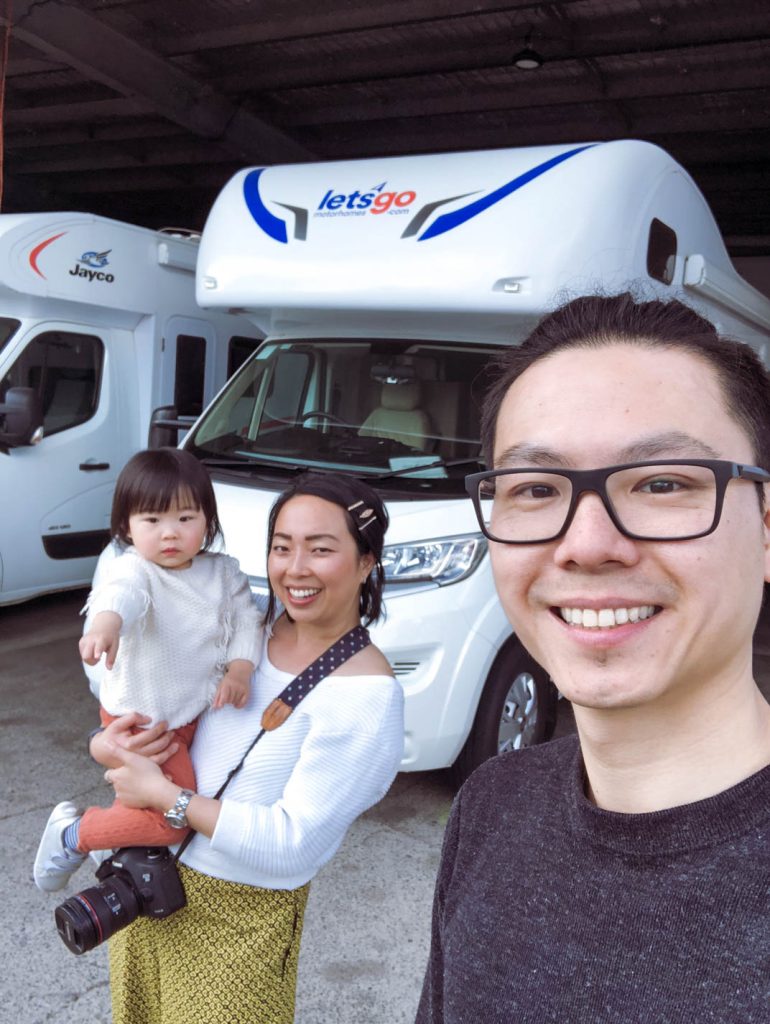
The idea of hitting the open road with my little family and a house in tow, was equally as exciting as it was overwhelming. I lusted over the freedom to go wherever we wanted, whenever we wanted, but I was also concerned about the confined space. We’ve gone on many short road trips but we’ve always timed the long drives with Clara’s napping schedule and now that she was down to just one nap per day, I wasn’t sure how she’d cope. This could have become the greatest family travel adventure, or the biggest disaster. So rather than blindly jump into the RV life to travel across Australia, this week-long trip was the ultimate test. Are toddlers compatible with the RV life? Well, here’s what I learned.
Keep the itinerary loose
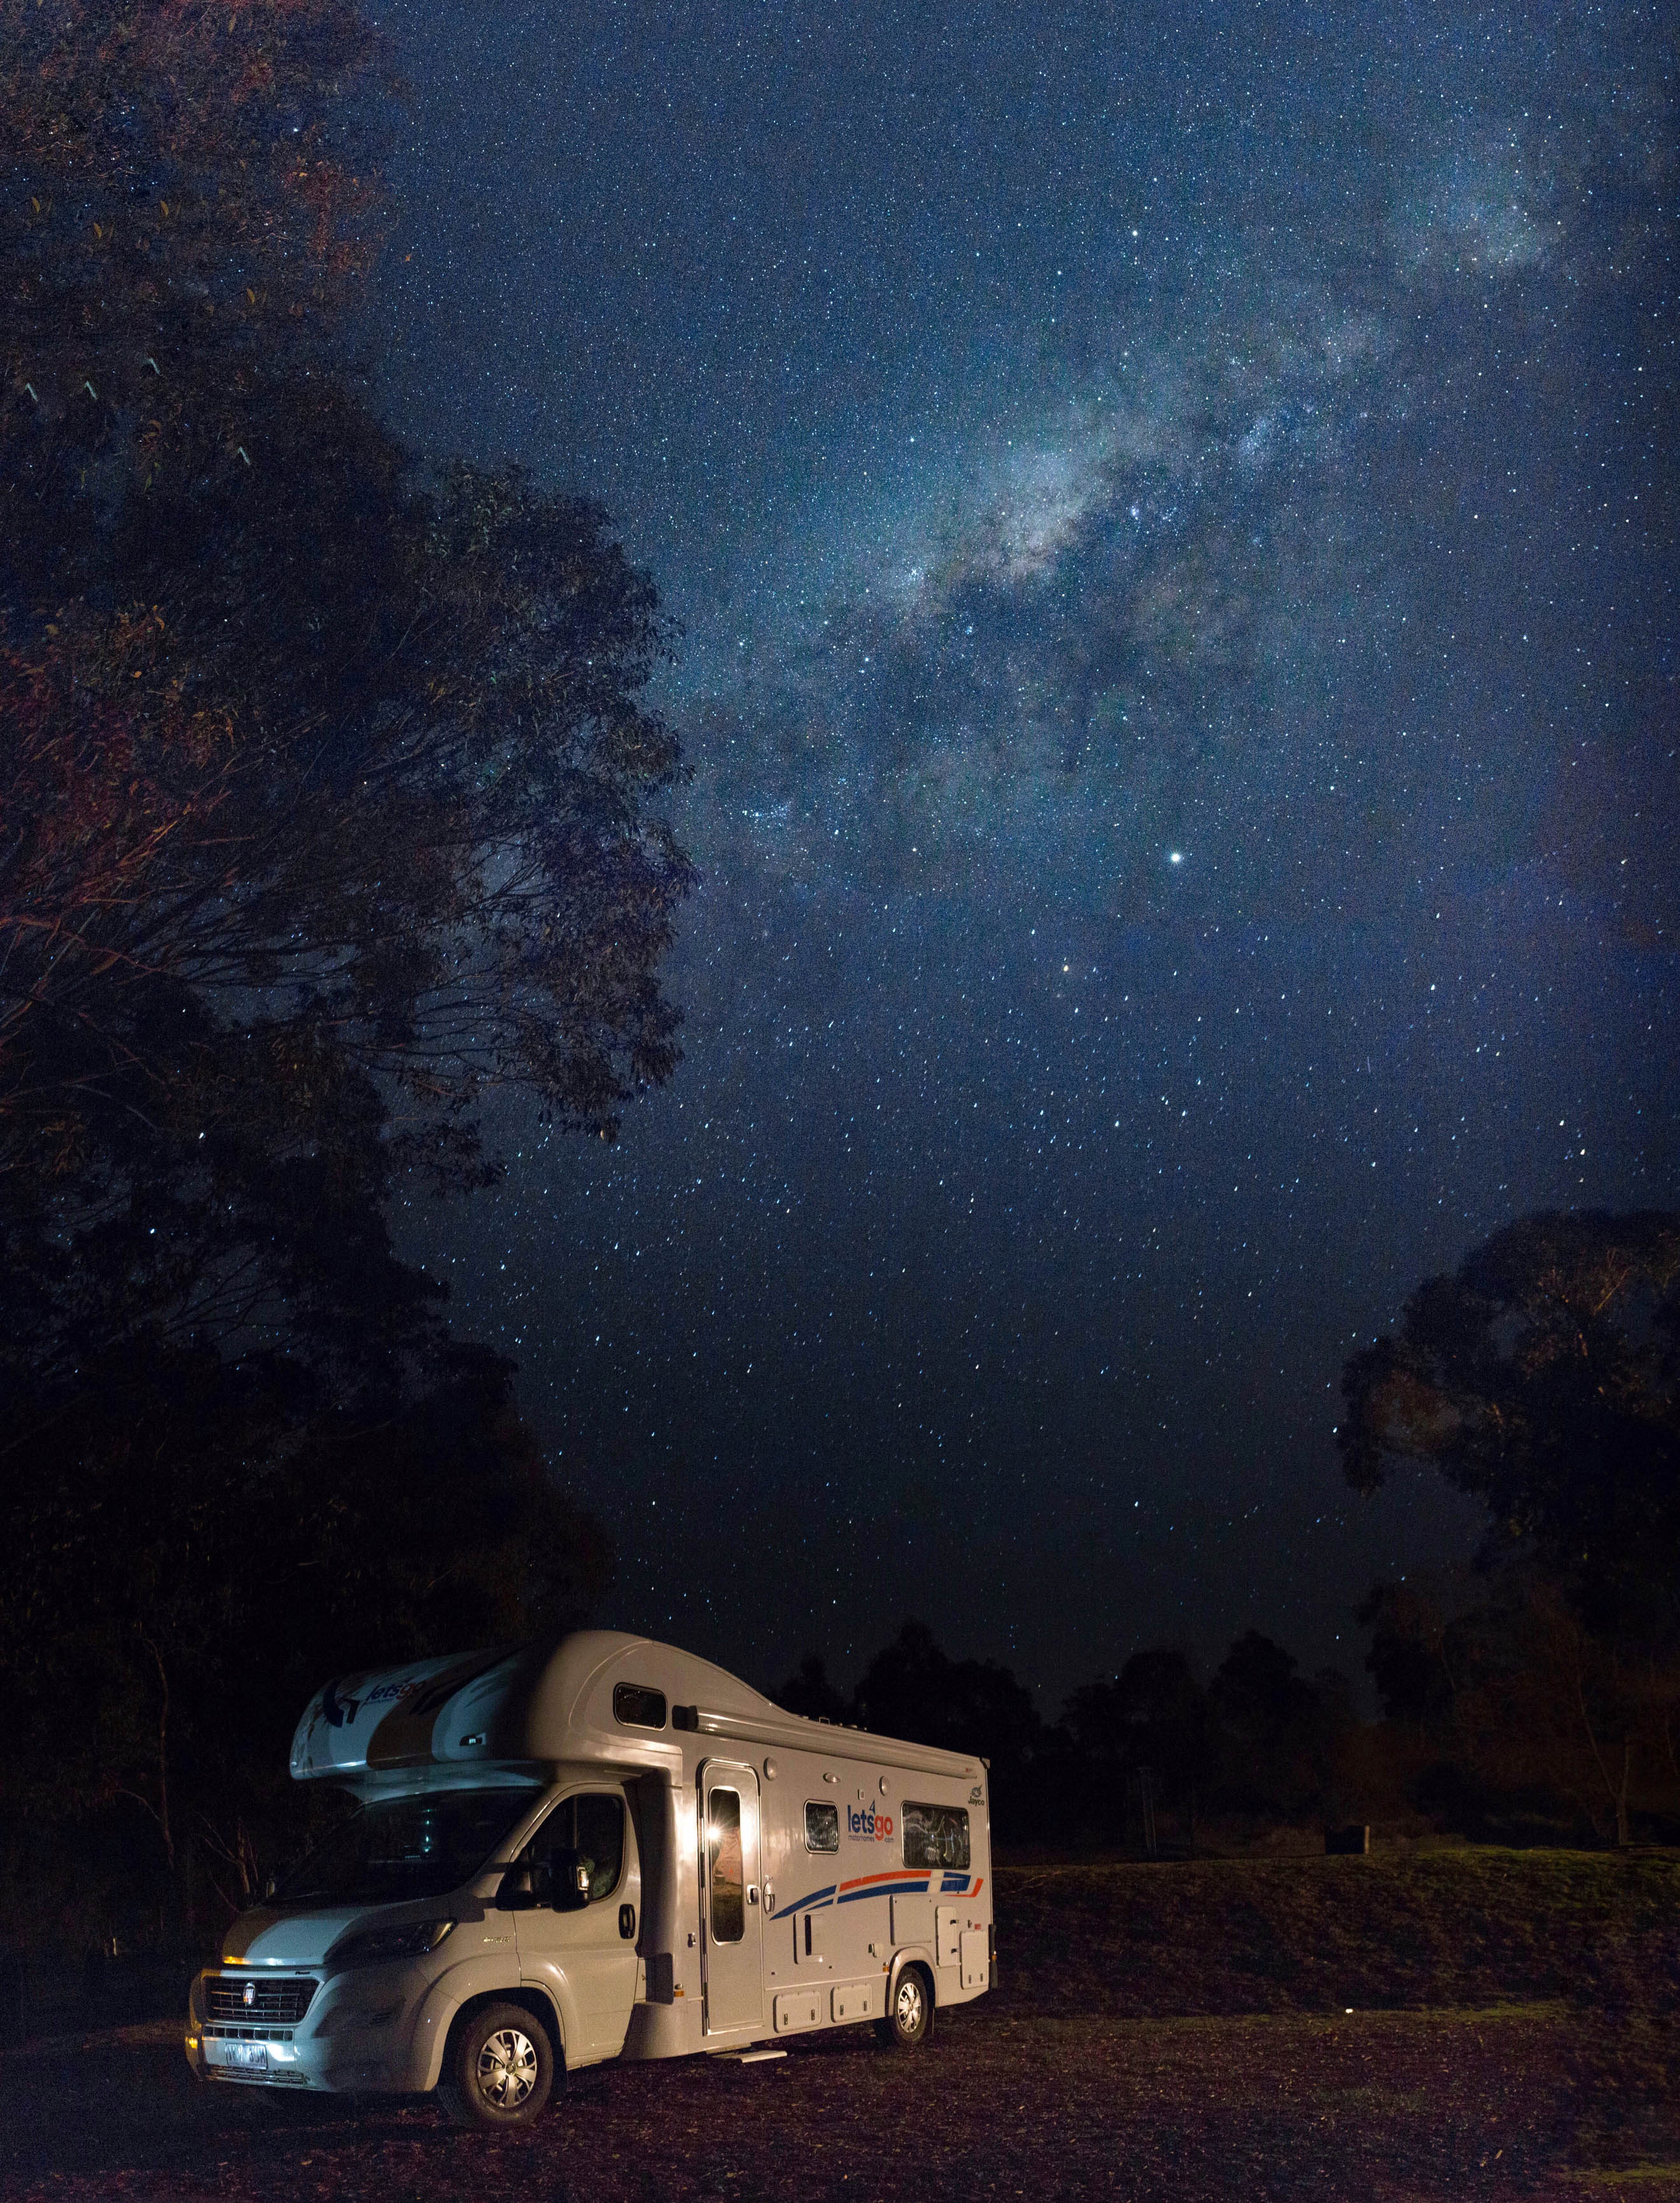
The goal of our first RV trip was to go stargazing at Coonabarabran, the astronomy capital of Australia. Located approximately six hours drive from Sydney, we had planned to drive no more than several hours each day to keep the trip relatively relaxed. We knew life with a toddler was unpredictable so we didn’t make any campsite bookings but we’d done enough planning to roughly know the overnight locations. We decided on Lithgow, Orange or Mudgee, Dubbo and of course Coonabarabran.
However, just an hour into the trip and we were already thanking our lucky stars. Clara was having a meltdown and our plan to keep the itinerary loose paid off. Rather than drive to Lithgow (2 hours from Sydney) or even Orange (3.5 hours from Sydney), we diverted to Blackheath (1.5 hours from Sydney). I suspect a developmental leap of some sort because the separation anxiety was an all-time high—Clara cried hysterically unless she was seated ON me. We tried to reset with a coffee break at Blaxland where Clara happily devoured her free babyccino (Thanks MJays Cafe!) but it didn’t help once we were back on the road.
Size matters when you have a toddler
Despite their size, children occupy a considerable amount of space. I know this for a fact because we lived in a tiny one bedroom inner-city apartment until Clara was nine-months old. Even at crawling age, the apartment felt crowded. Now at two-years old, she’s climbing, running and jumping—we needed space for that in the RV.
I’d like to think that pre-baby, Zen and I could have roamed this great country in a lovingly restored VW campervan—compact and versatile, and so-Instaworthy — but who am I kidding, we saved every cent for airfare and to stay at luxury villas.
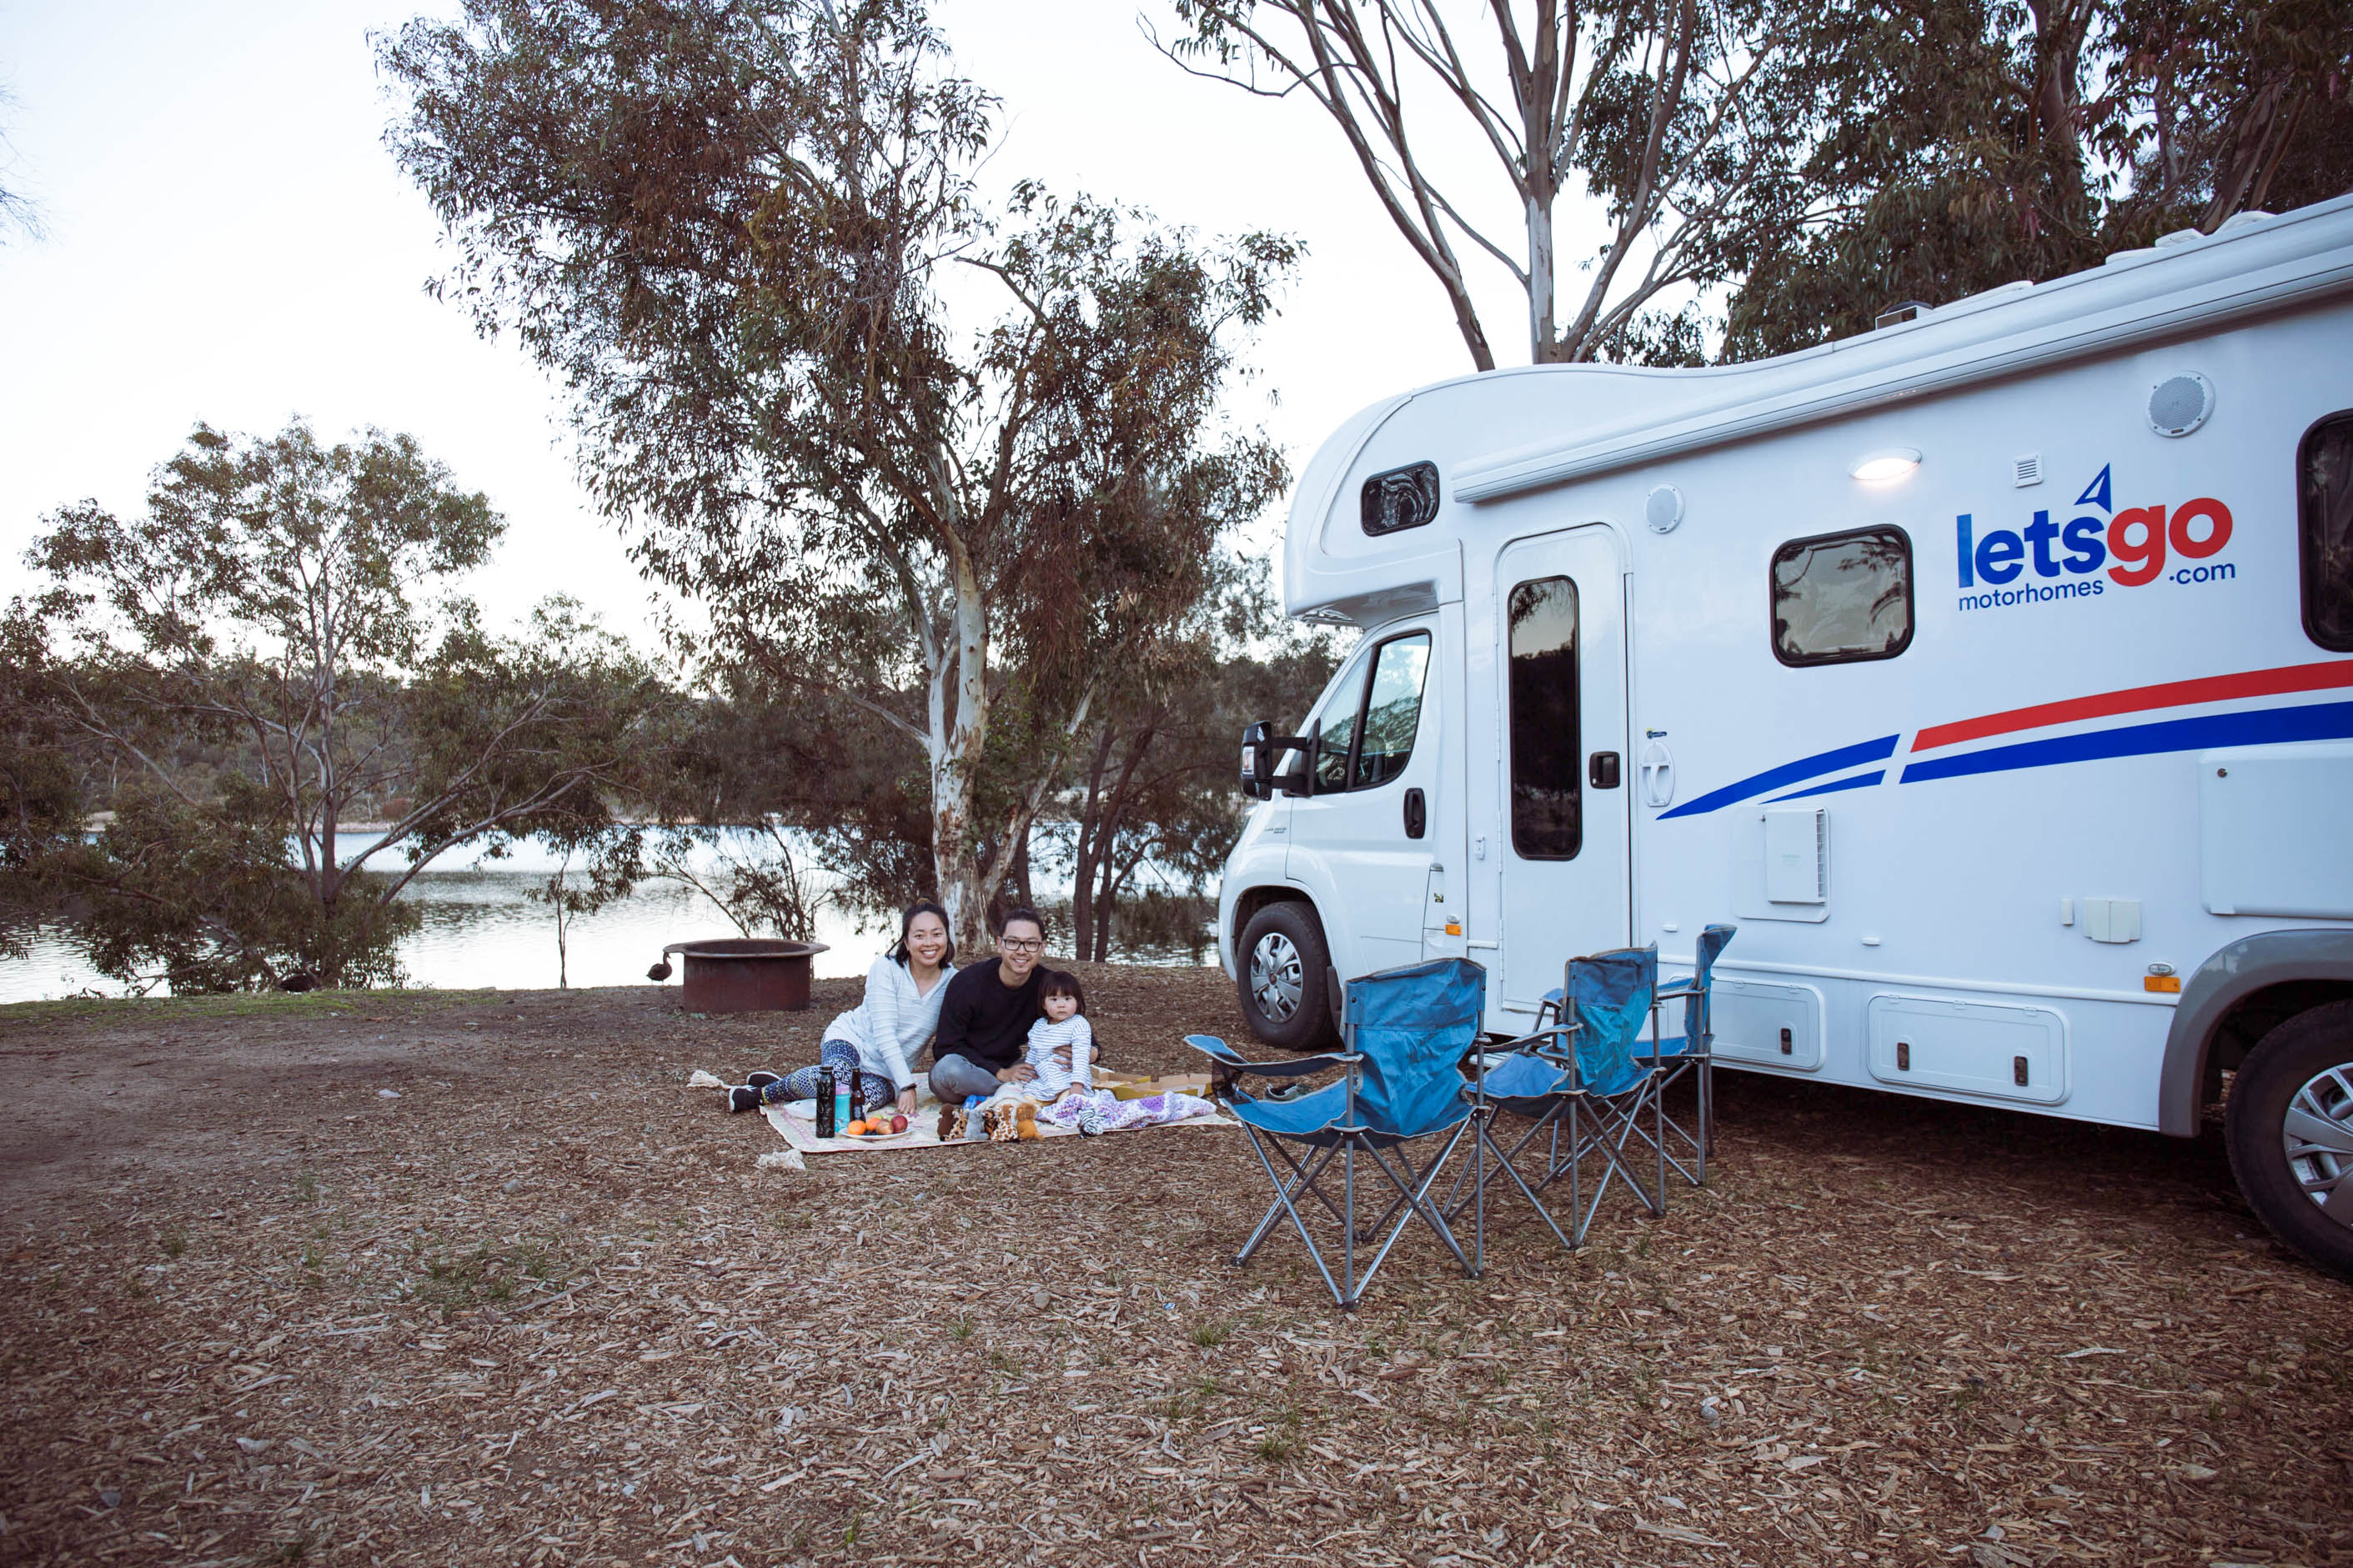
So how do you choose an RV? Well, because we drive a small hatchback, a towable caravan/trailer/camper was out of the picture. As a first-timer, we opted to rent a motorhome from a reputable company (research highlighted that some companies were notorious with delaying bond refunds so check their reviews and choose wisely).
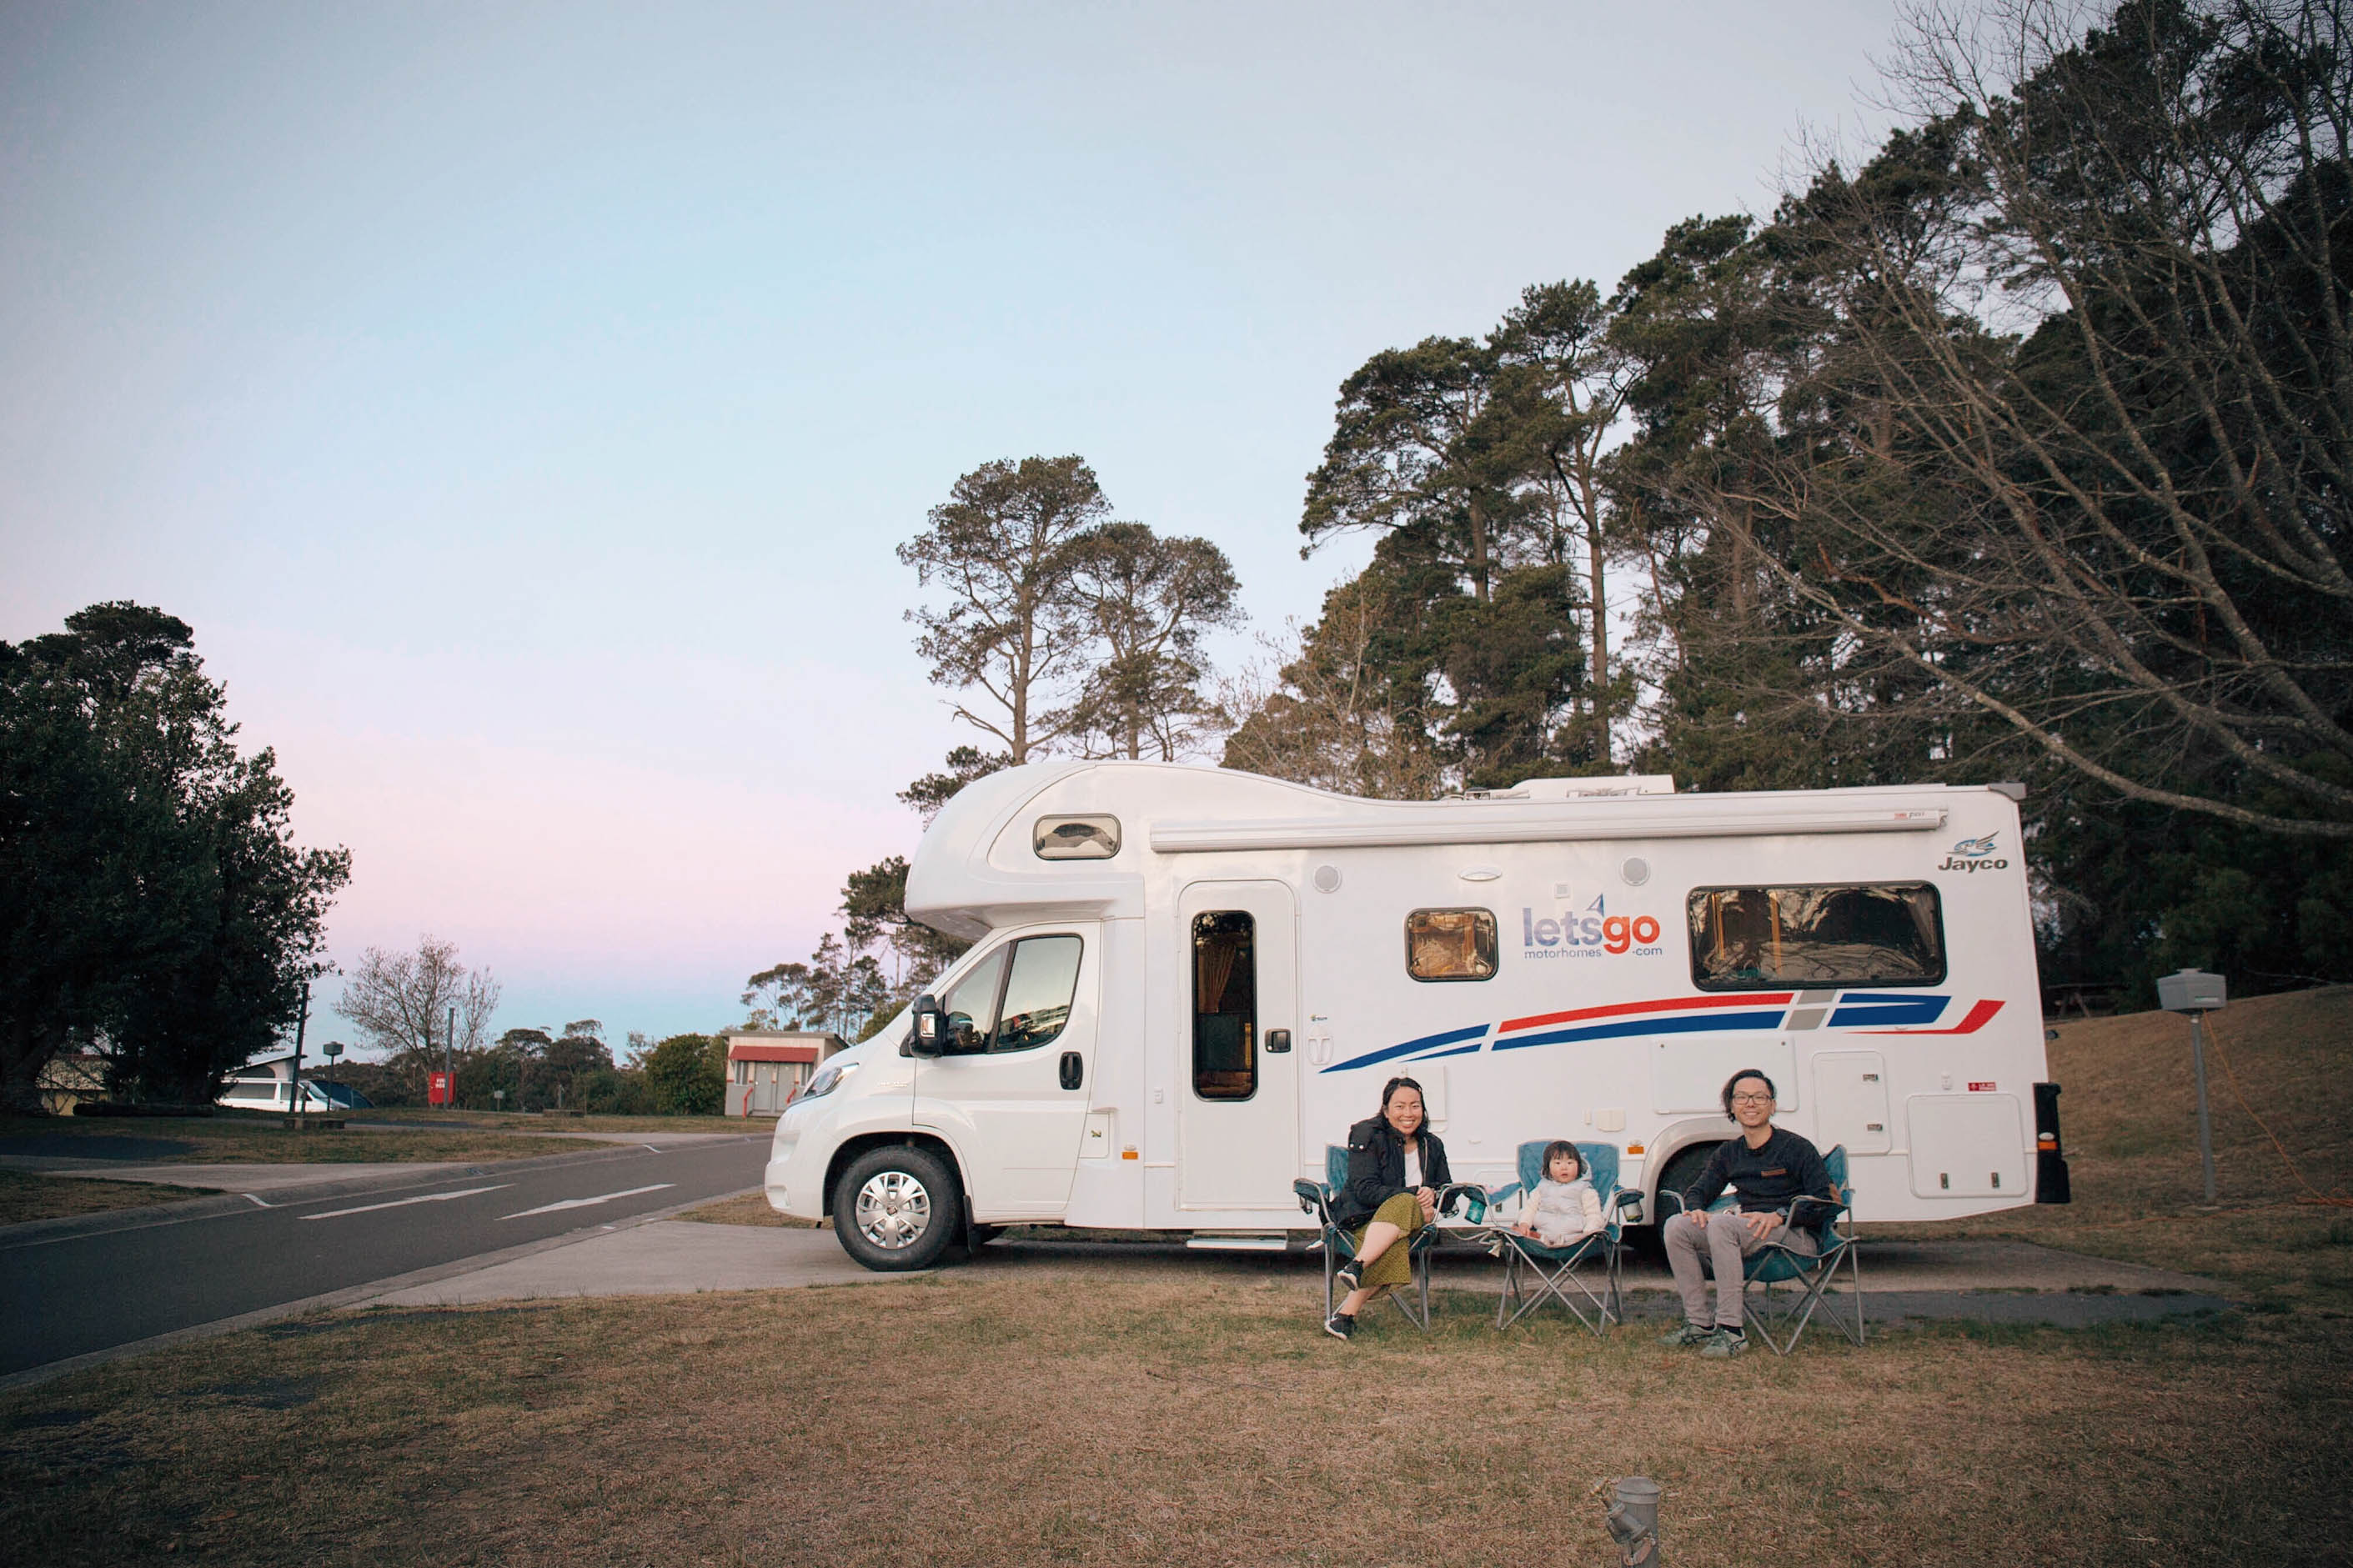
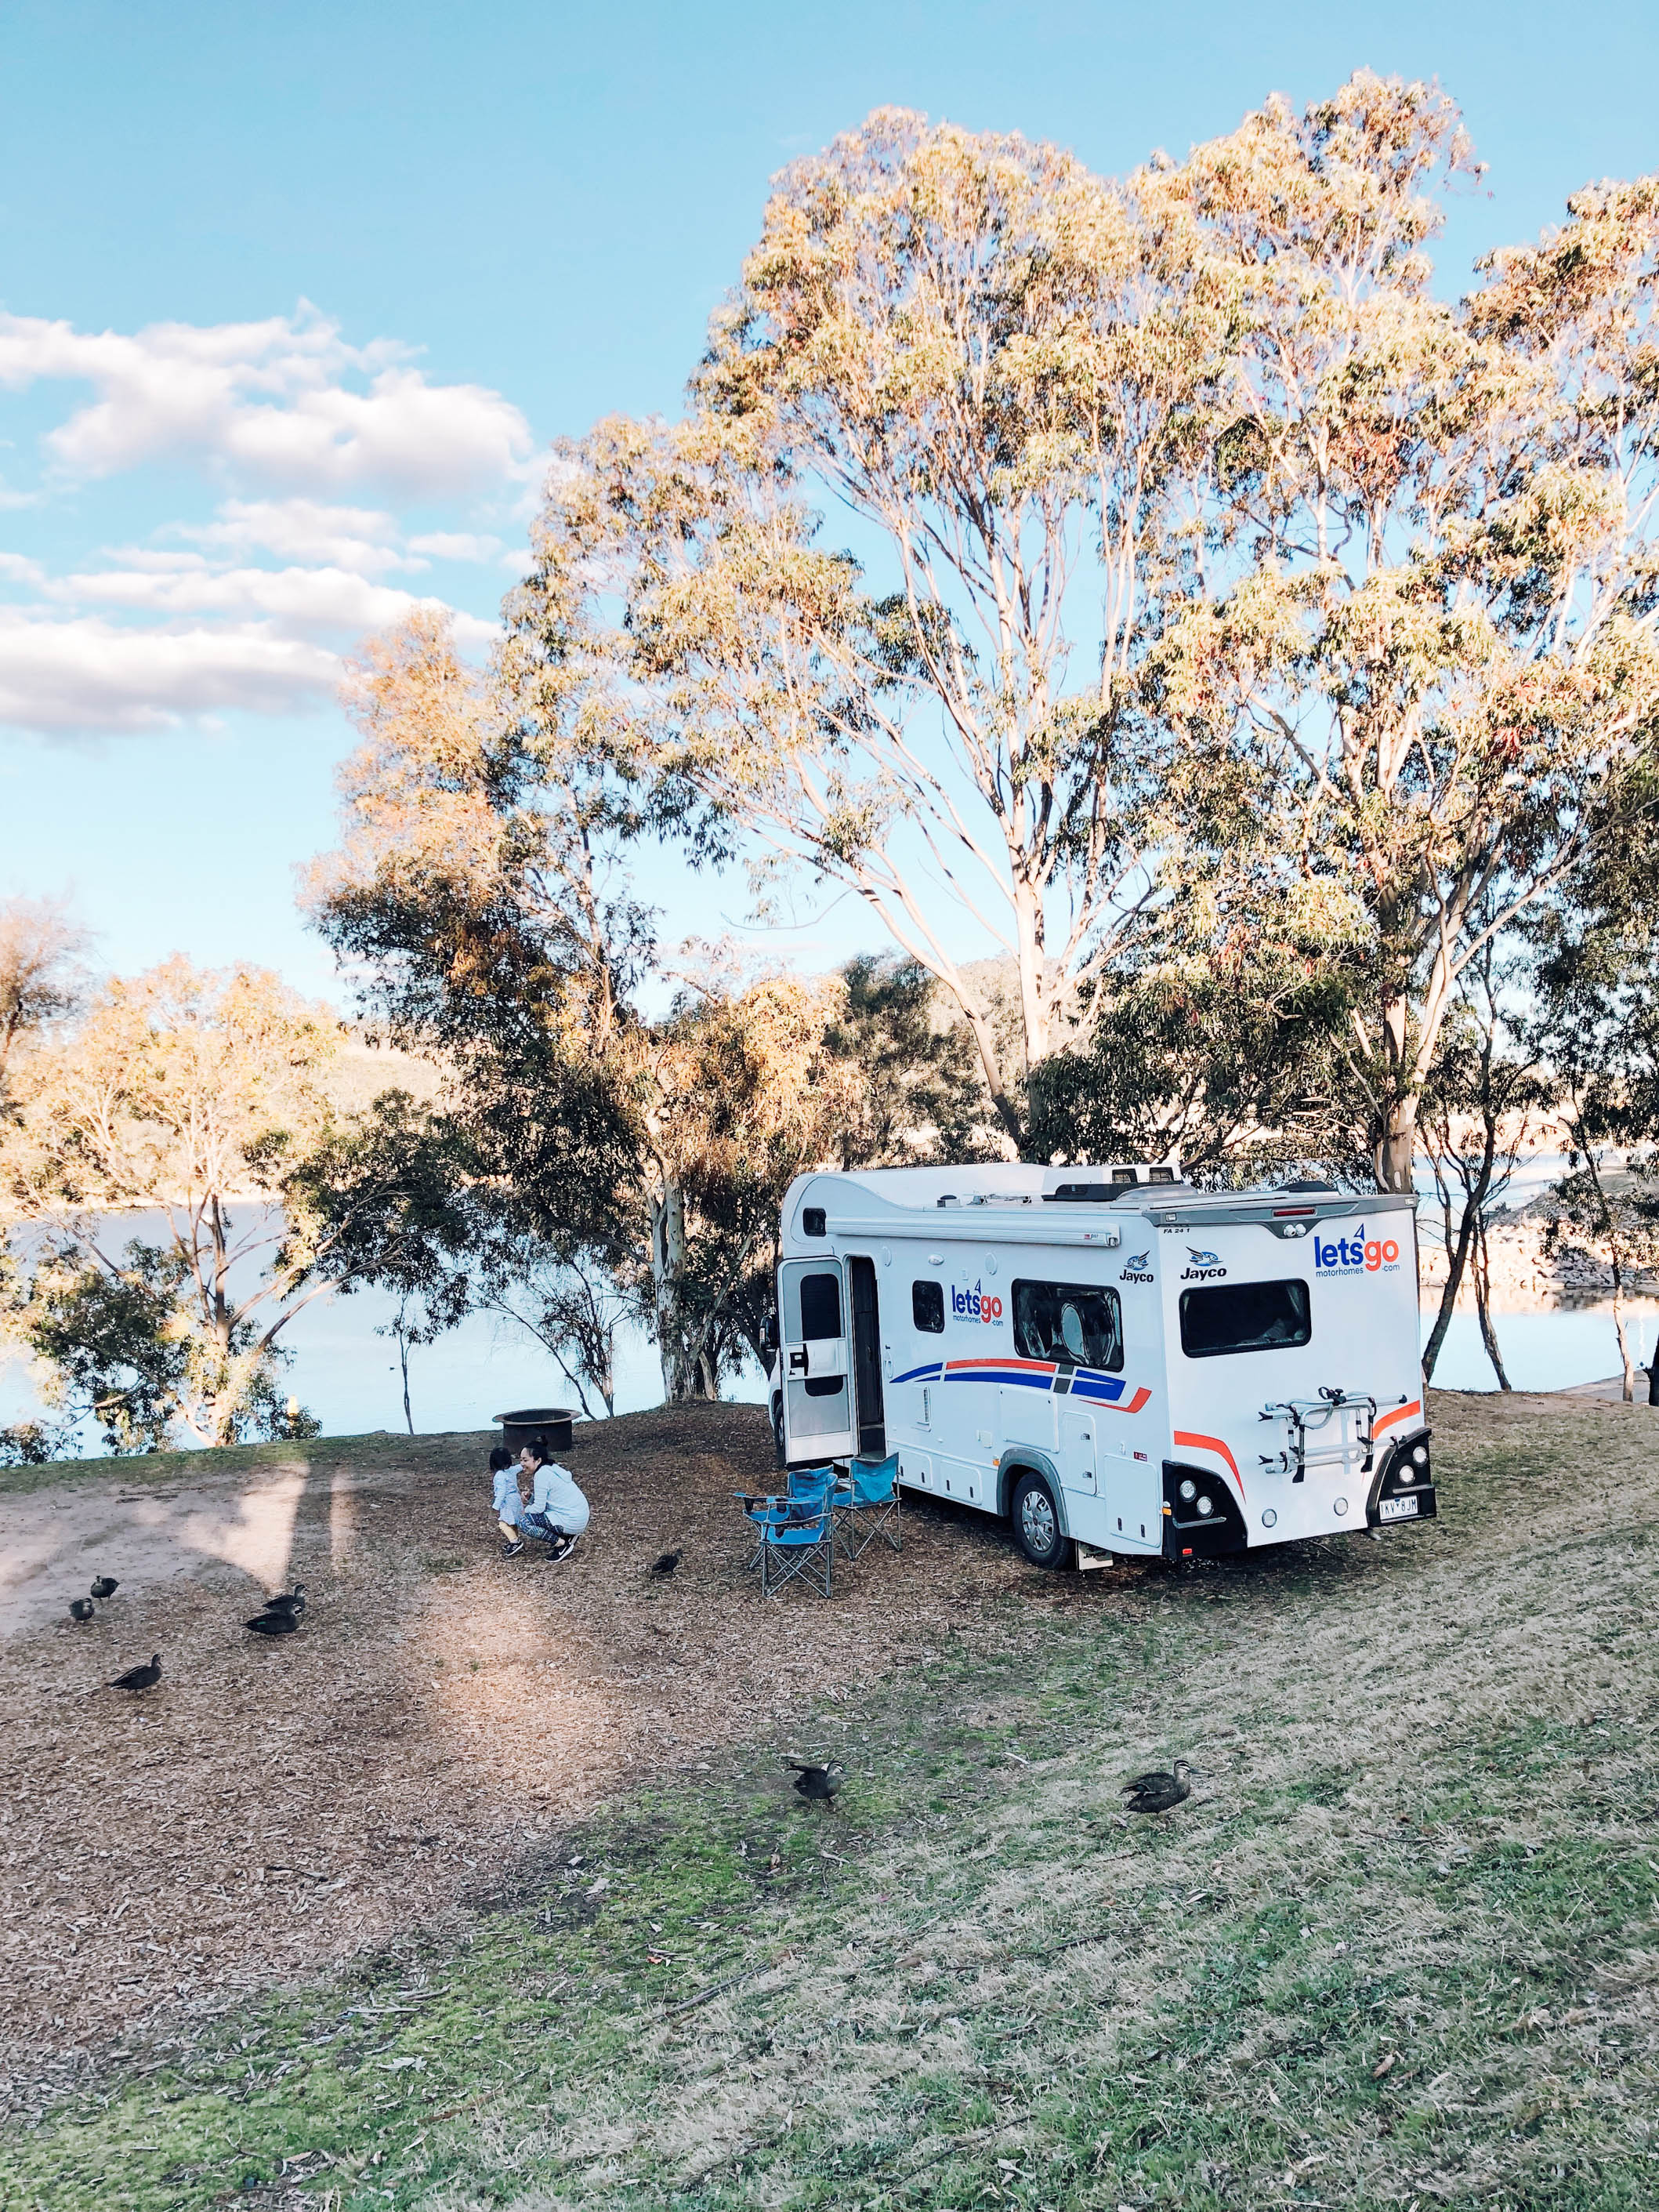
We ended up going with the Jayco 6 Berth Conquest with Let’s Go Motorhomes. Key features included:
- Leather upholstery
- Sink and microwave oven
- Large 2-door refrigerator/freezer
- 4 burner stove and grill
- 2 permanent double beds and a convertible dinette
- Shower and Toilet
- Air conditioning
- Colour TV with DVD player
- Awning
- Reversing camera
- Provision to add 2-bike rack
- Solar panel for charging house battery
Even though it was just the three of us, we opted for the 6 berth RV due to the permanent double beds; it was one less hassle to deal with every night! Rough costs for hiring a relatively new RV starts from $150+/night. We paid $176/night for ours during the off-peak travel season. We also had to hire a child seat ($40) because the anchor point was different to ours.
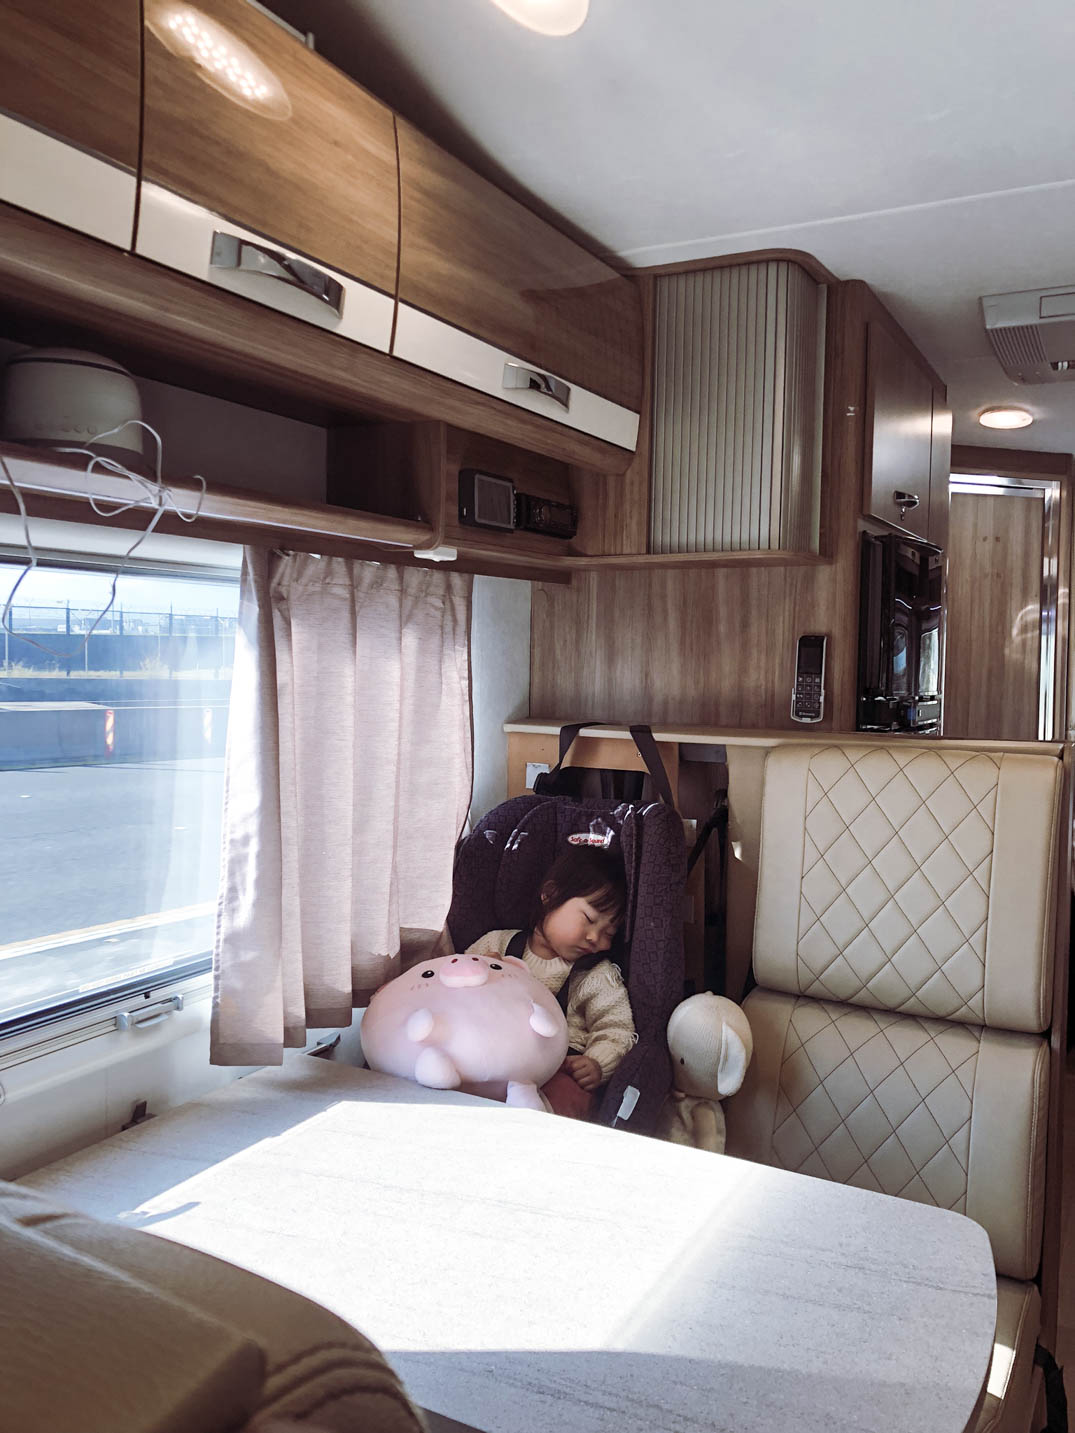
When you travel with a toddler, you can never over-pack, but considering how full our little hatchback was when we departed from home to pick-up the RV, I had serious reservations about what we had intended to bring with us. It was such a relief to have empty storage shelves after we had unpacked! The under-bed storage held bulky items such as our large suitcase and our BabyZen Yoyo+ pram and with under-seat storage chests in addition to cabinets and shelves that literally fill every nook and cranny, I was really impressed with the volume of space.
Tip: Look at the floor plan to check if a portacot can fit! We have the Phil&Teds Traveller which fit snugly near the dinette. (If you don’t own a portacot, you can hire one)

Get your groceries delivered
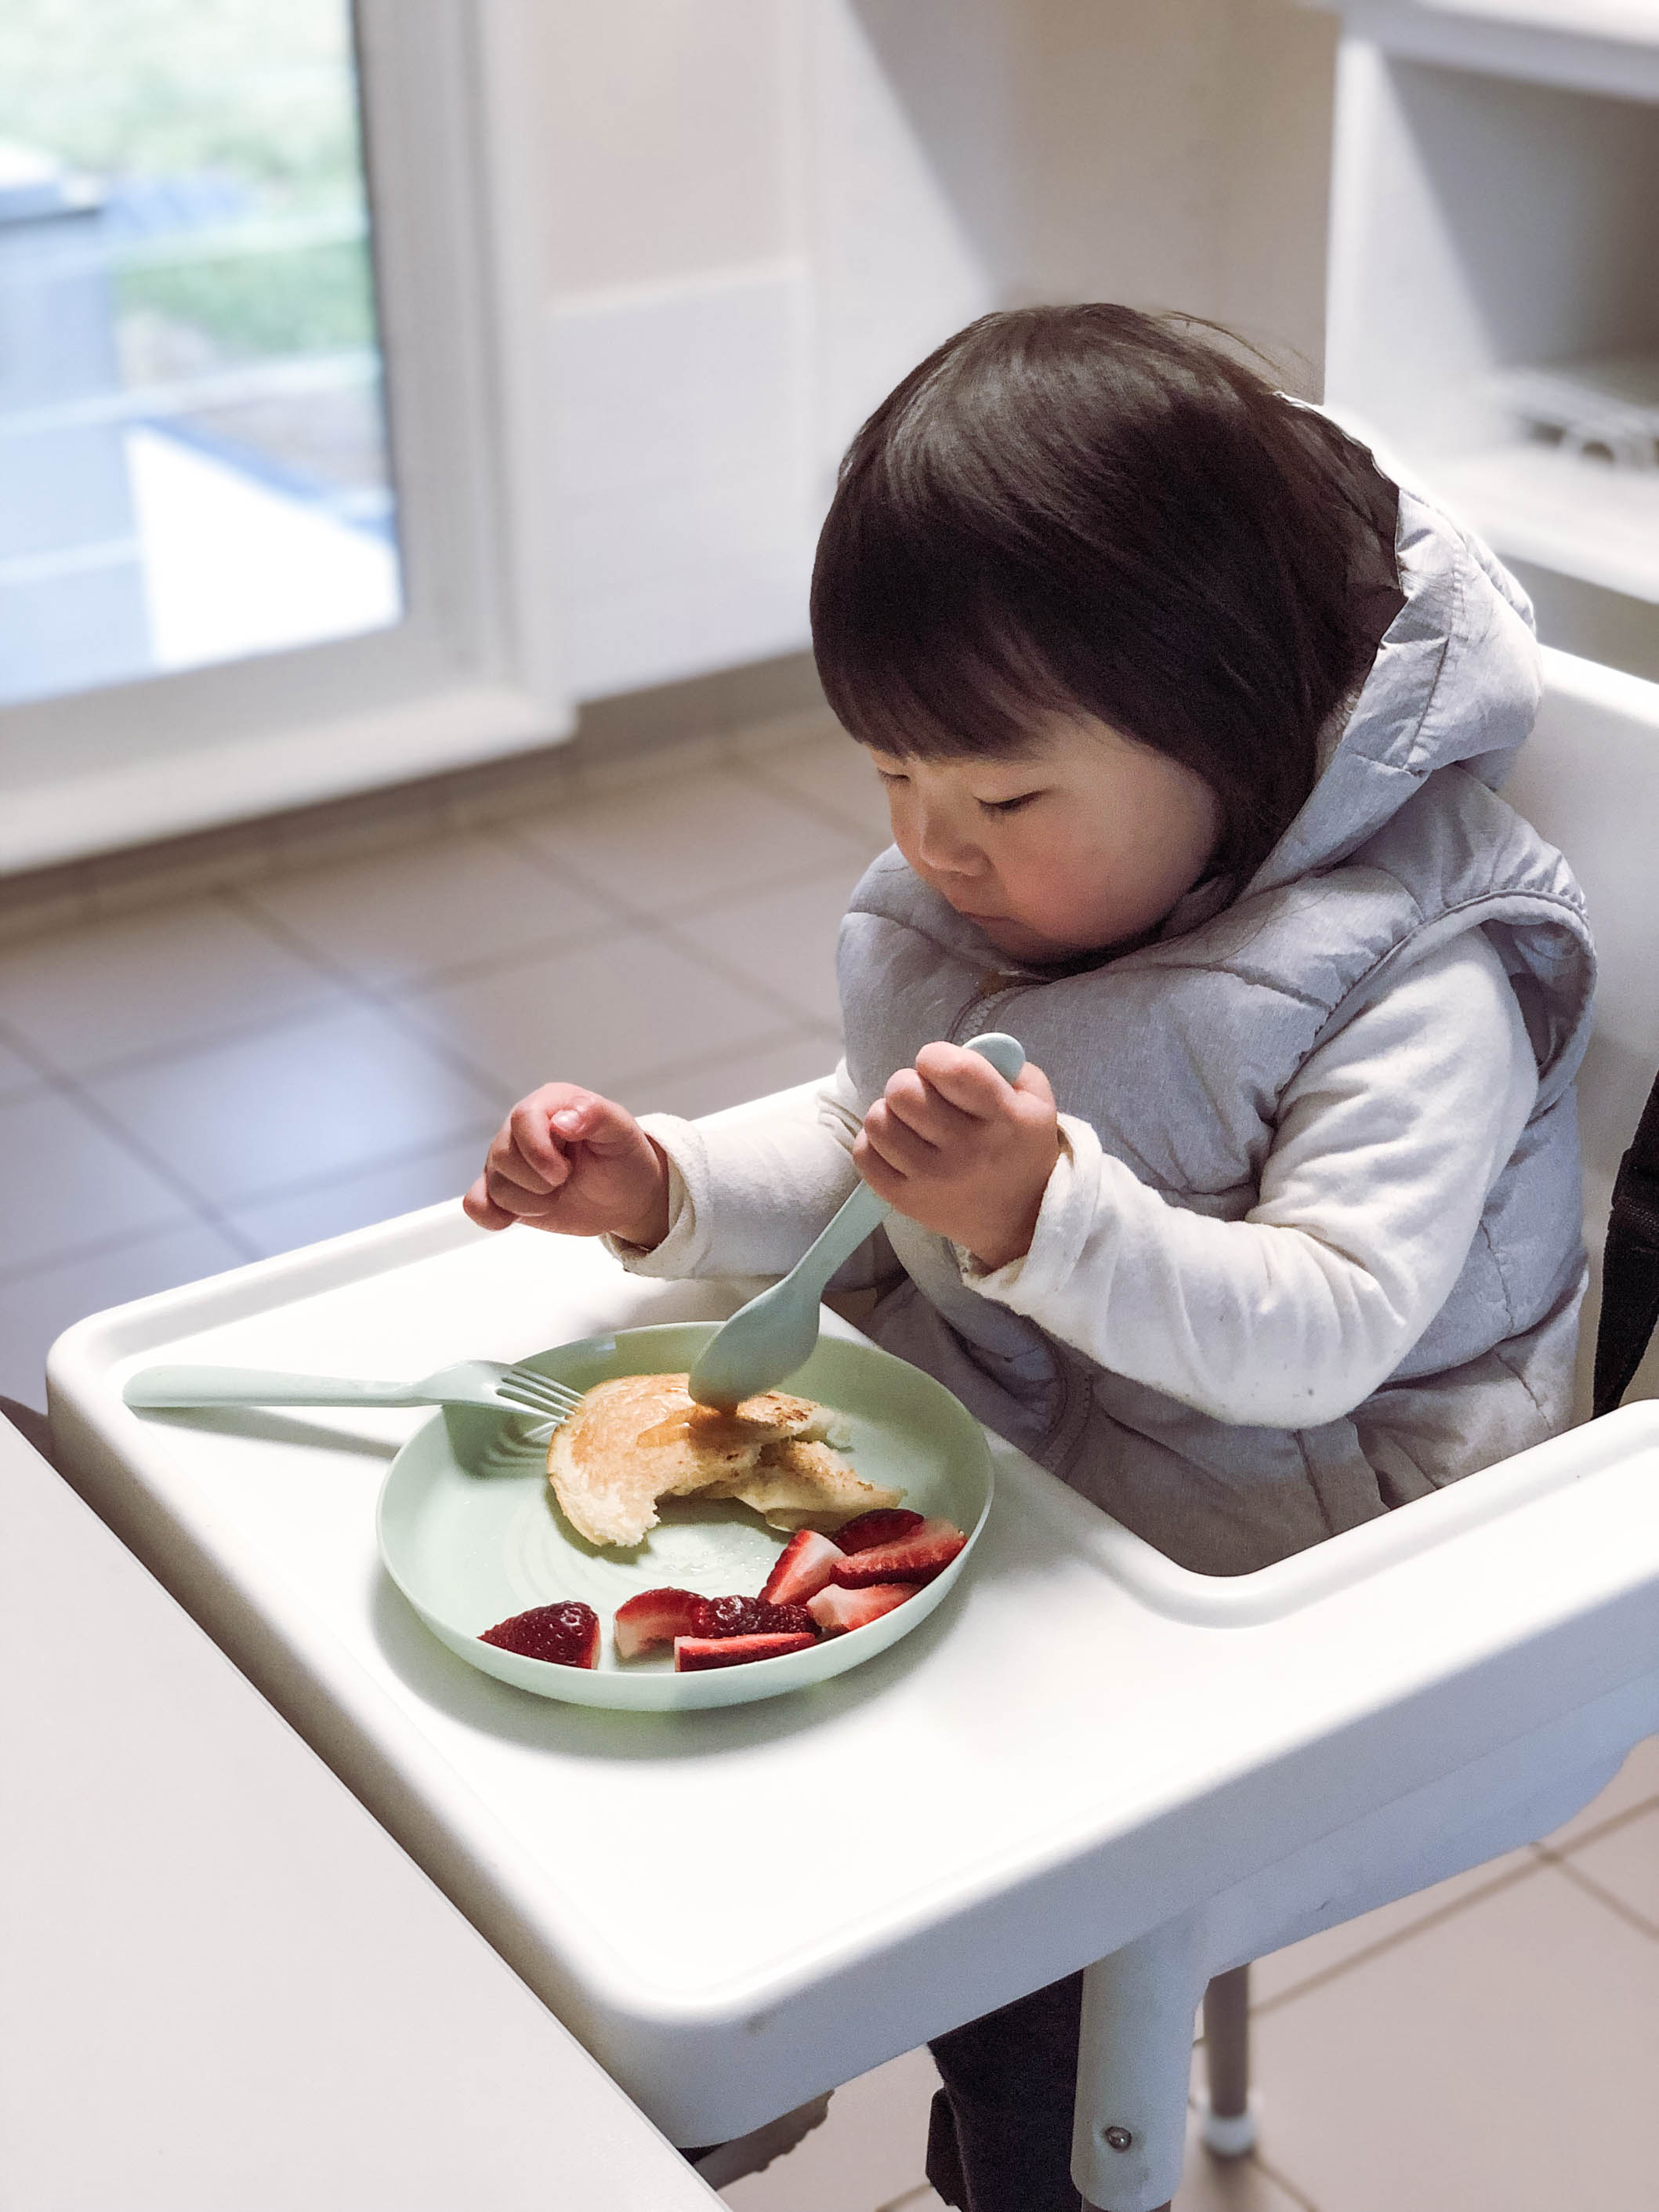
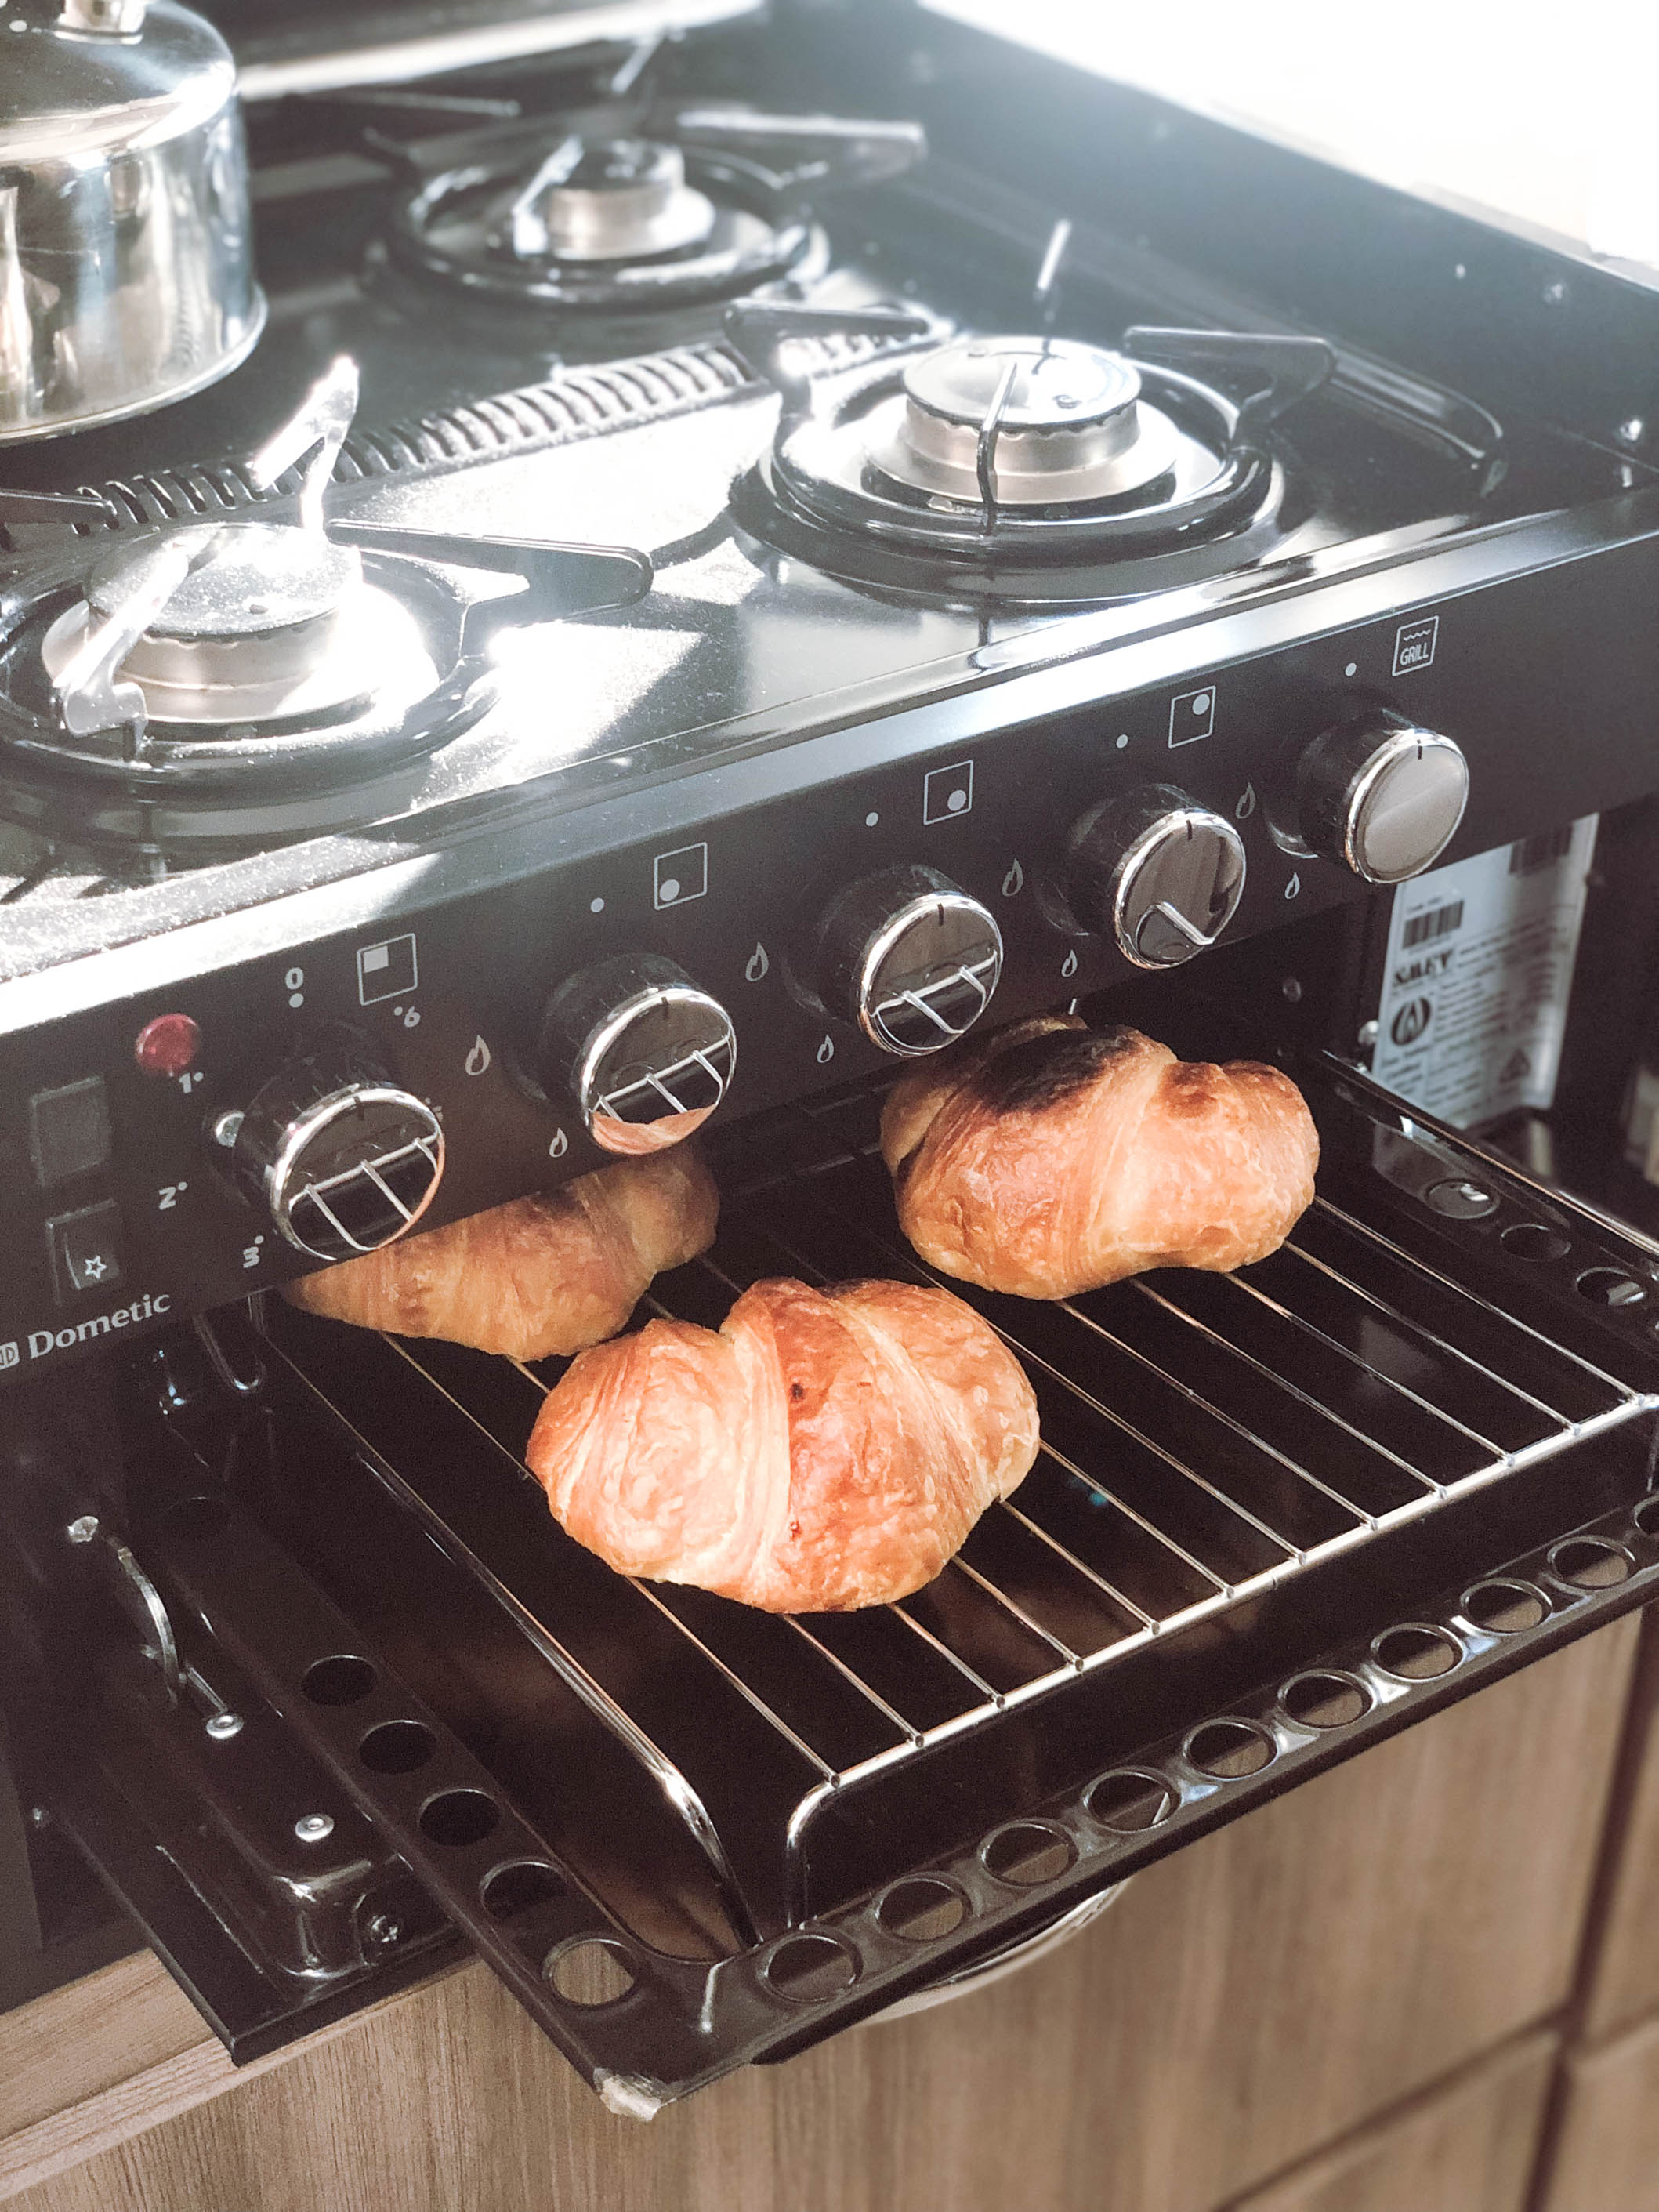
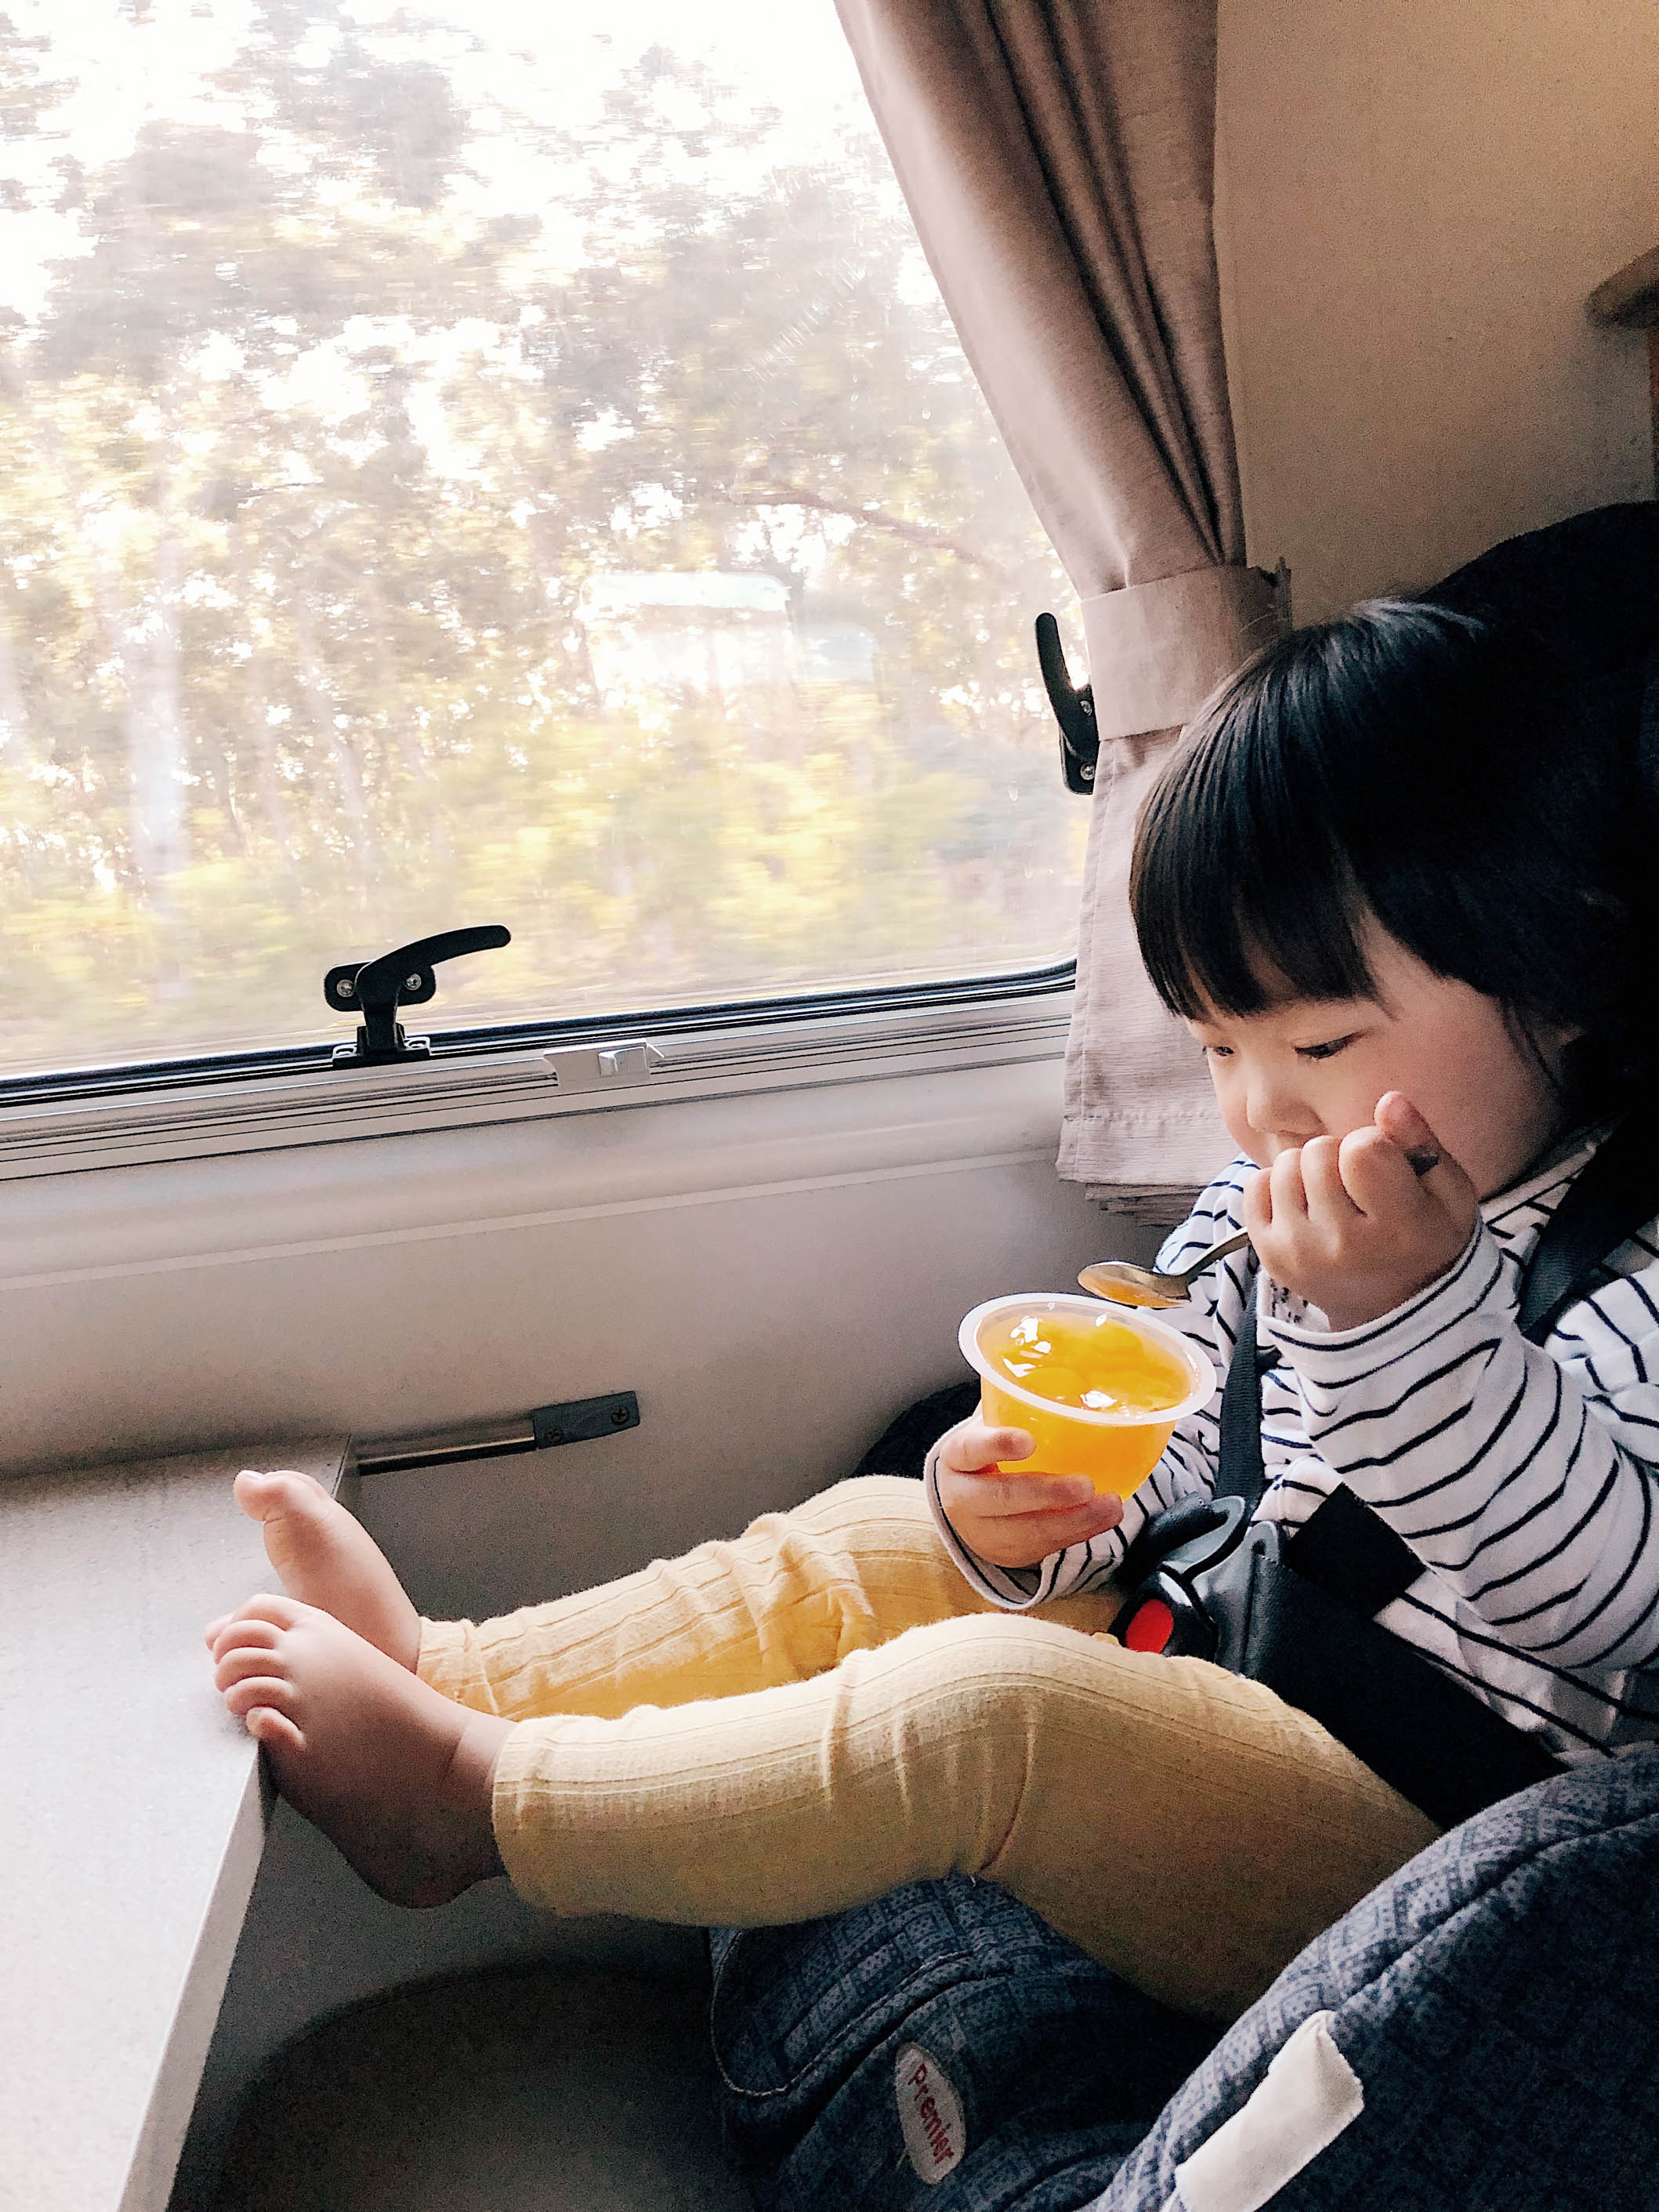
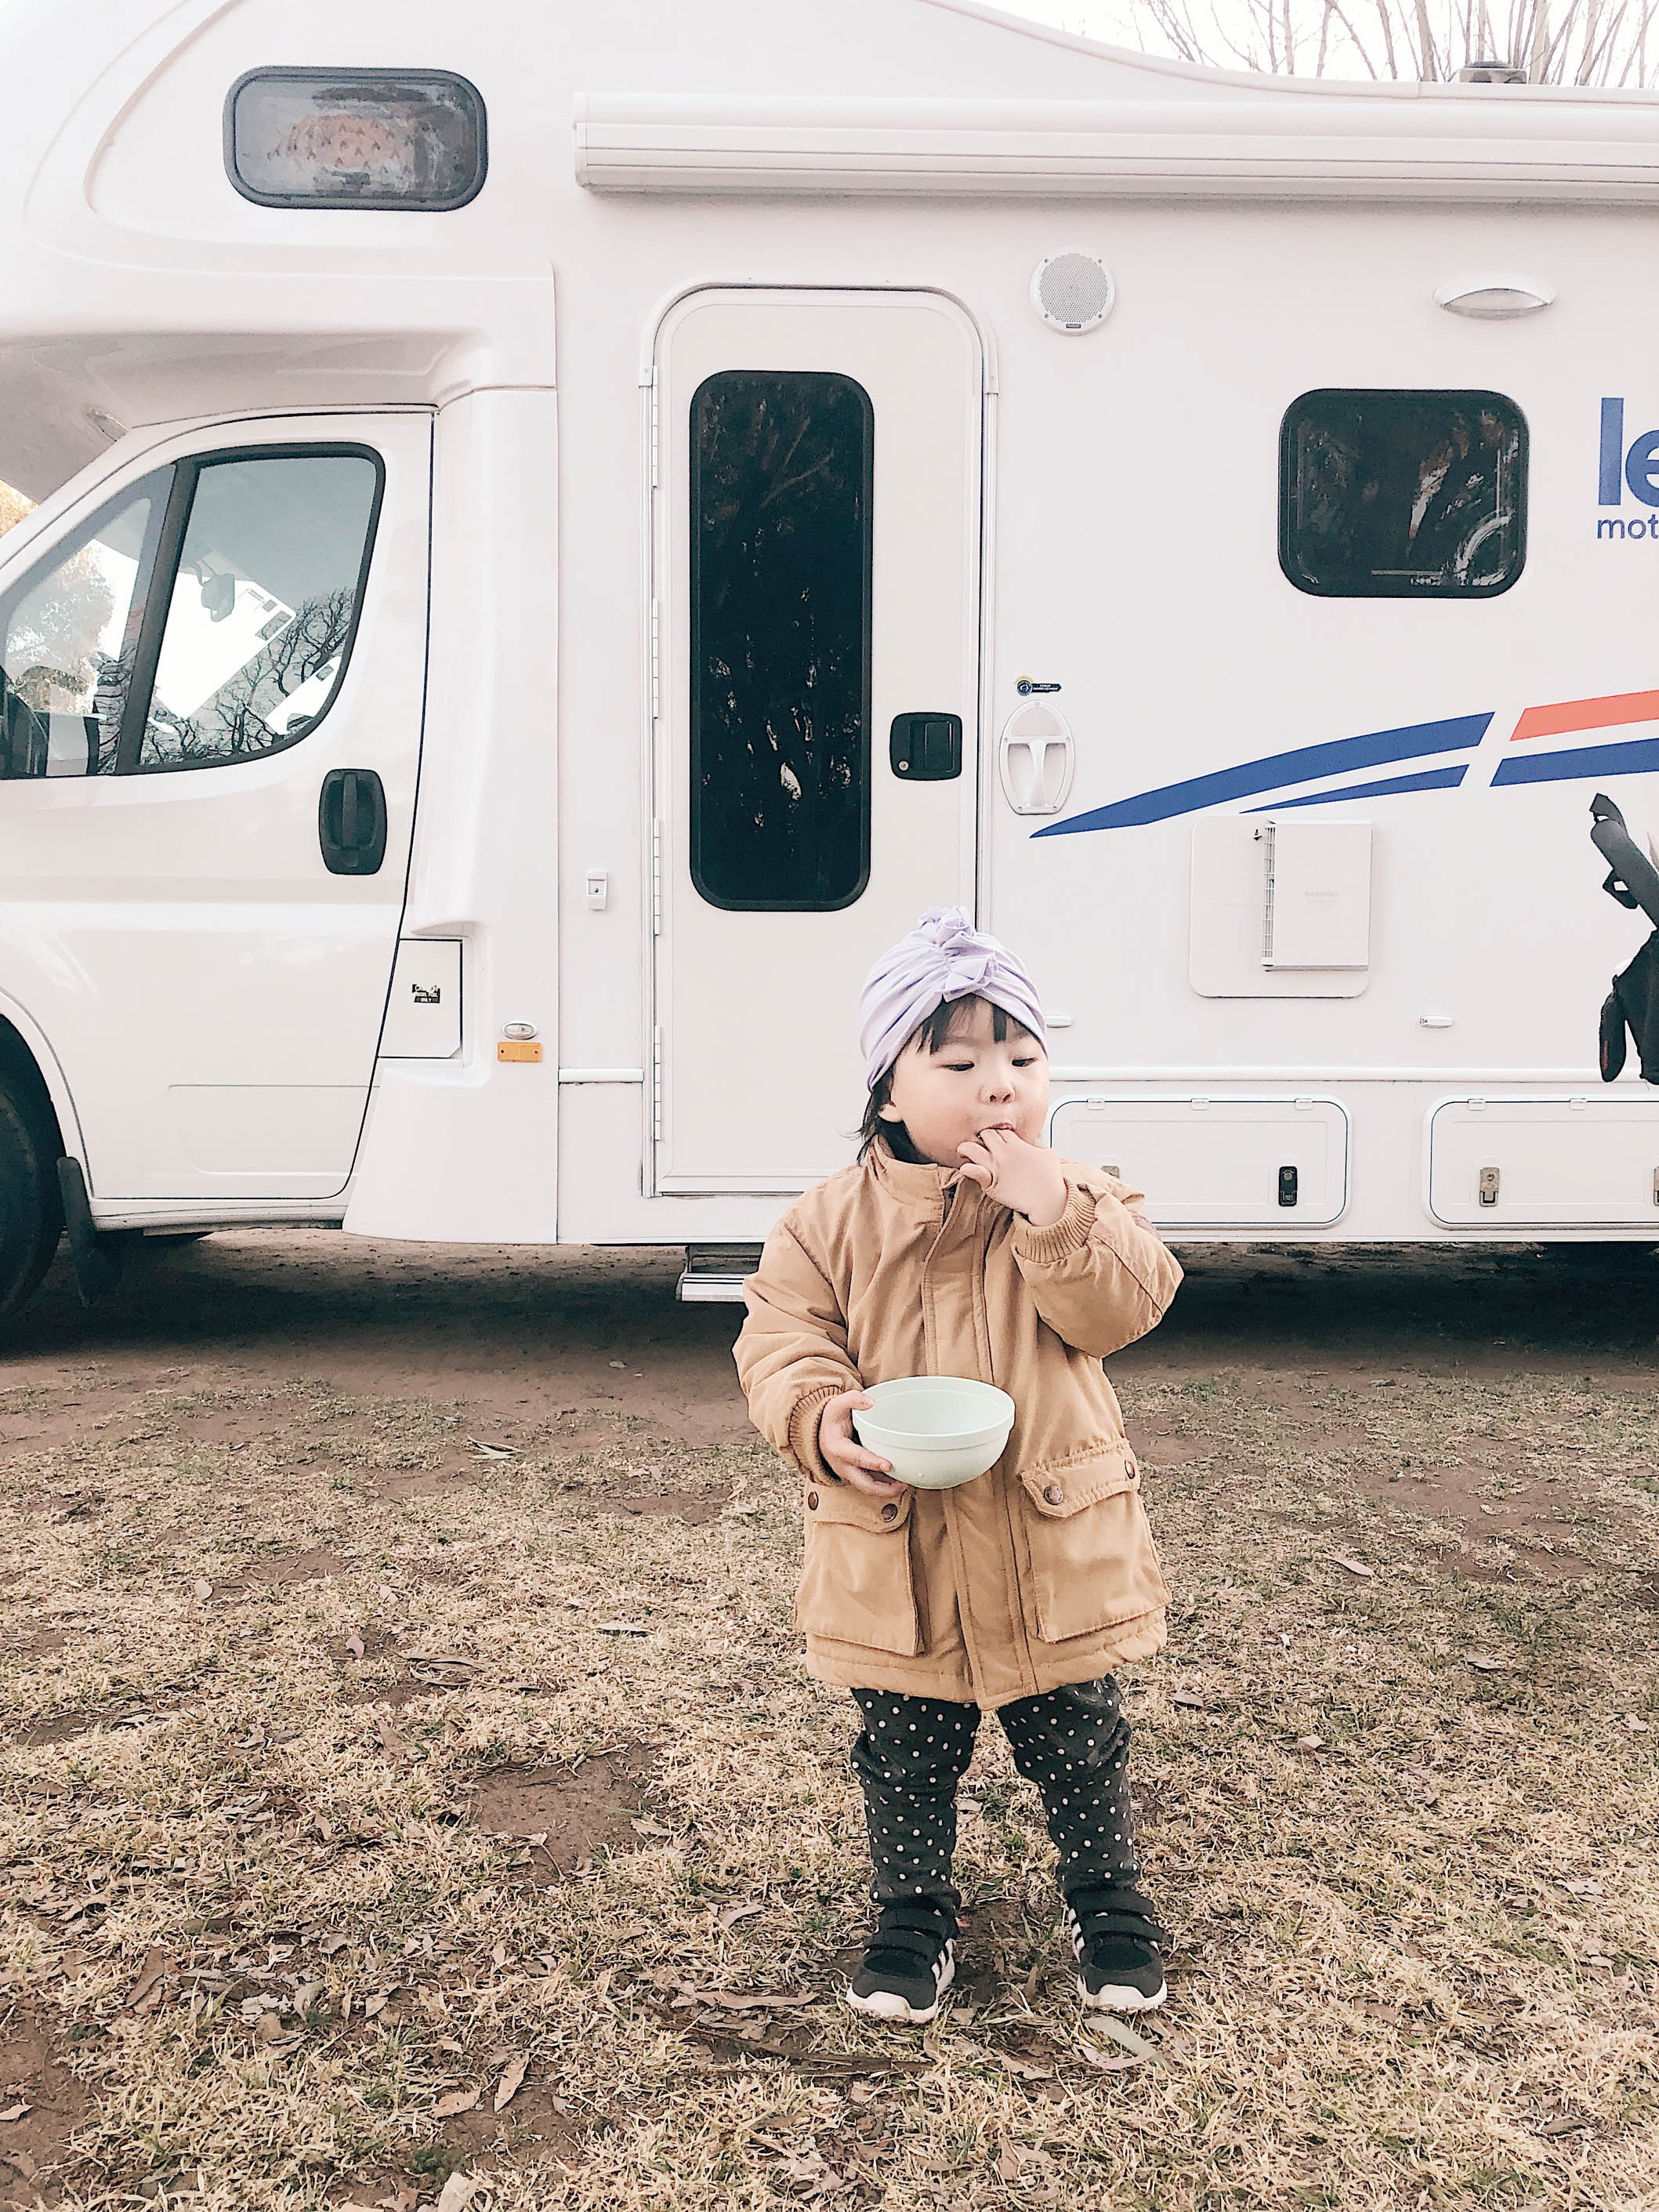
RVing doesn’t mean you have to sacrifice healthy eating for convenience. I knew it was going to be particularly hard to eat healthy on our family’s vegan and pescetarian diet so we took advantage of the free delivery service at Coles and got our groceries delivered straight to the RV the day before pick-up! The staff at Let’s Go Motorhomes ensured the power was connected so the fridge was operational, and even unpacked the groceries into the fridge and freezer.
The idea was to pre-buy some essentials for at least four dinners and every breakfast, and then to top-up on groceries at farmers’ markets or rustic food stores along the way. It took a little thought and effort to meal-plan ahead of the trip but it definitely helped reduce stress and improve the efficiency of our mealtimes.
Tip: Bring basic ingredients and equipment from home. A few things we brought:
- Olive oil
- Tea (I believe there’s a tea for every occasion so we had green tea with jasmine & pear, rooibos, english breakfast, earl grey, rosehip tea with lemongrass & ginger)
- Spice blends
- Snack boxes for the little ones
- Kids dining set (plate, bowl, cutlery, cup)
- A nice non-stick pan with lid (we didn’t end up using this because the one provided was sufficient)
- Salt
- Garlic
- Ginger
- Soy sauce
- Sesame oil
- Almond butter
- Vegan honey
Set-up your home away from home
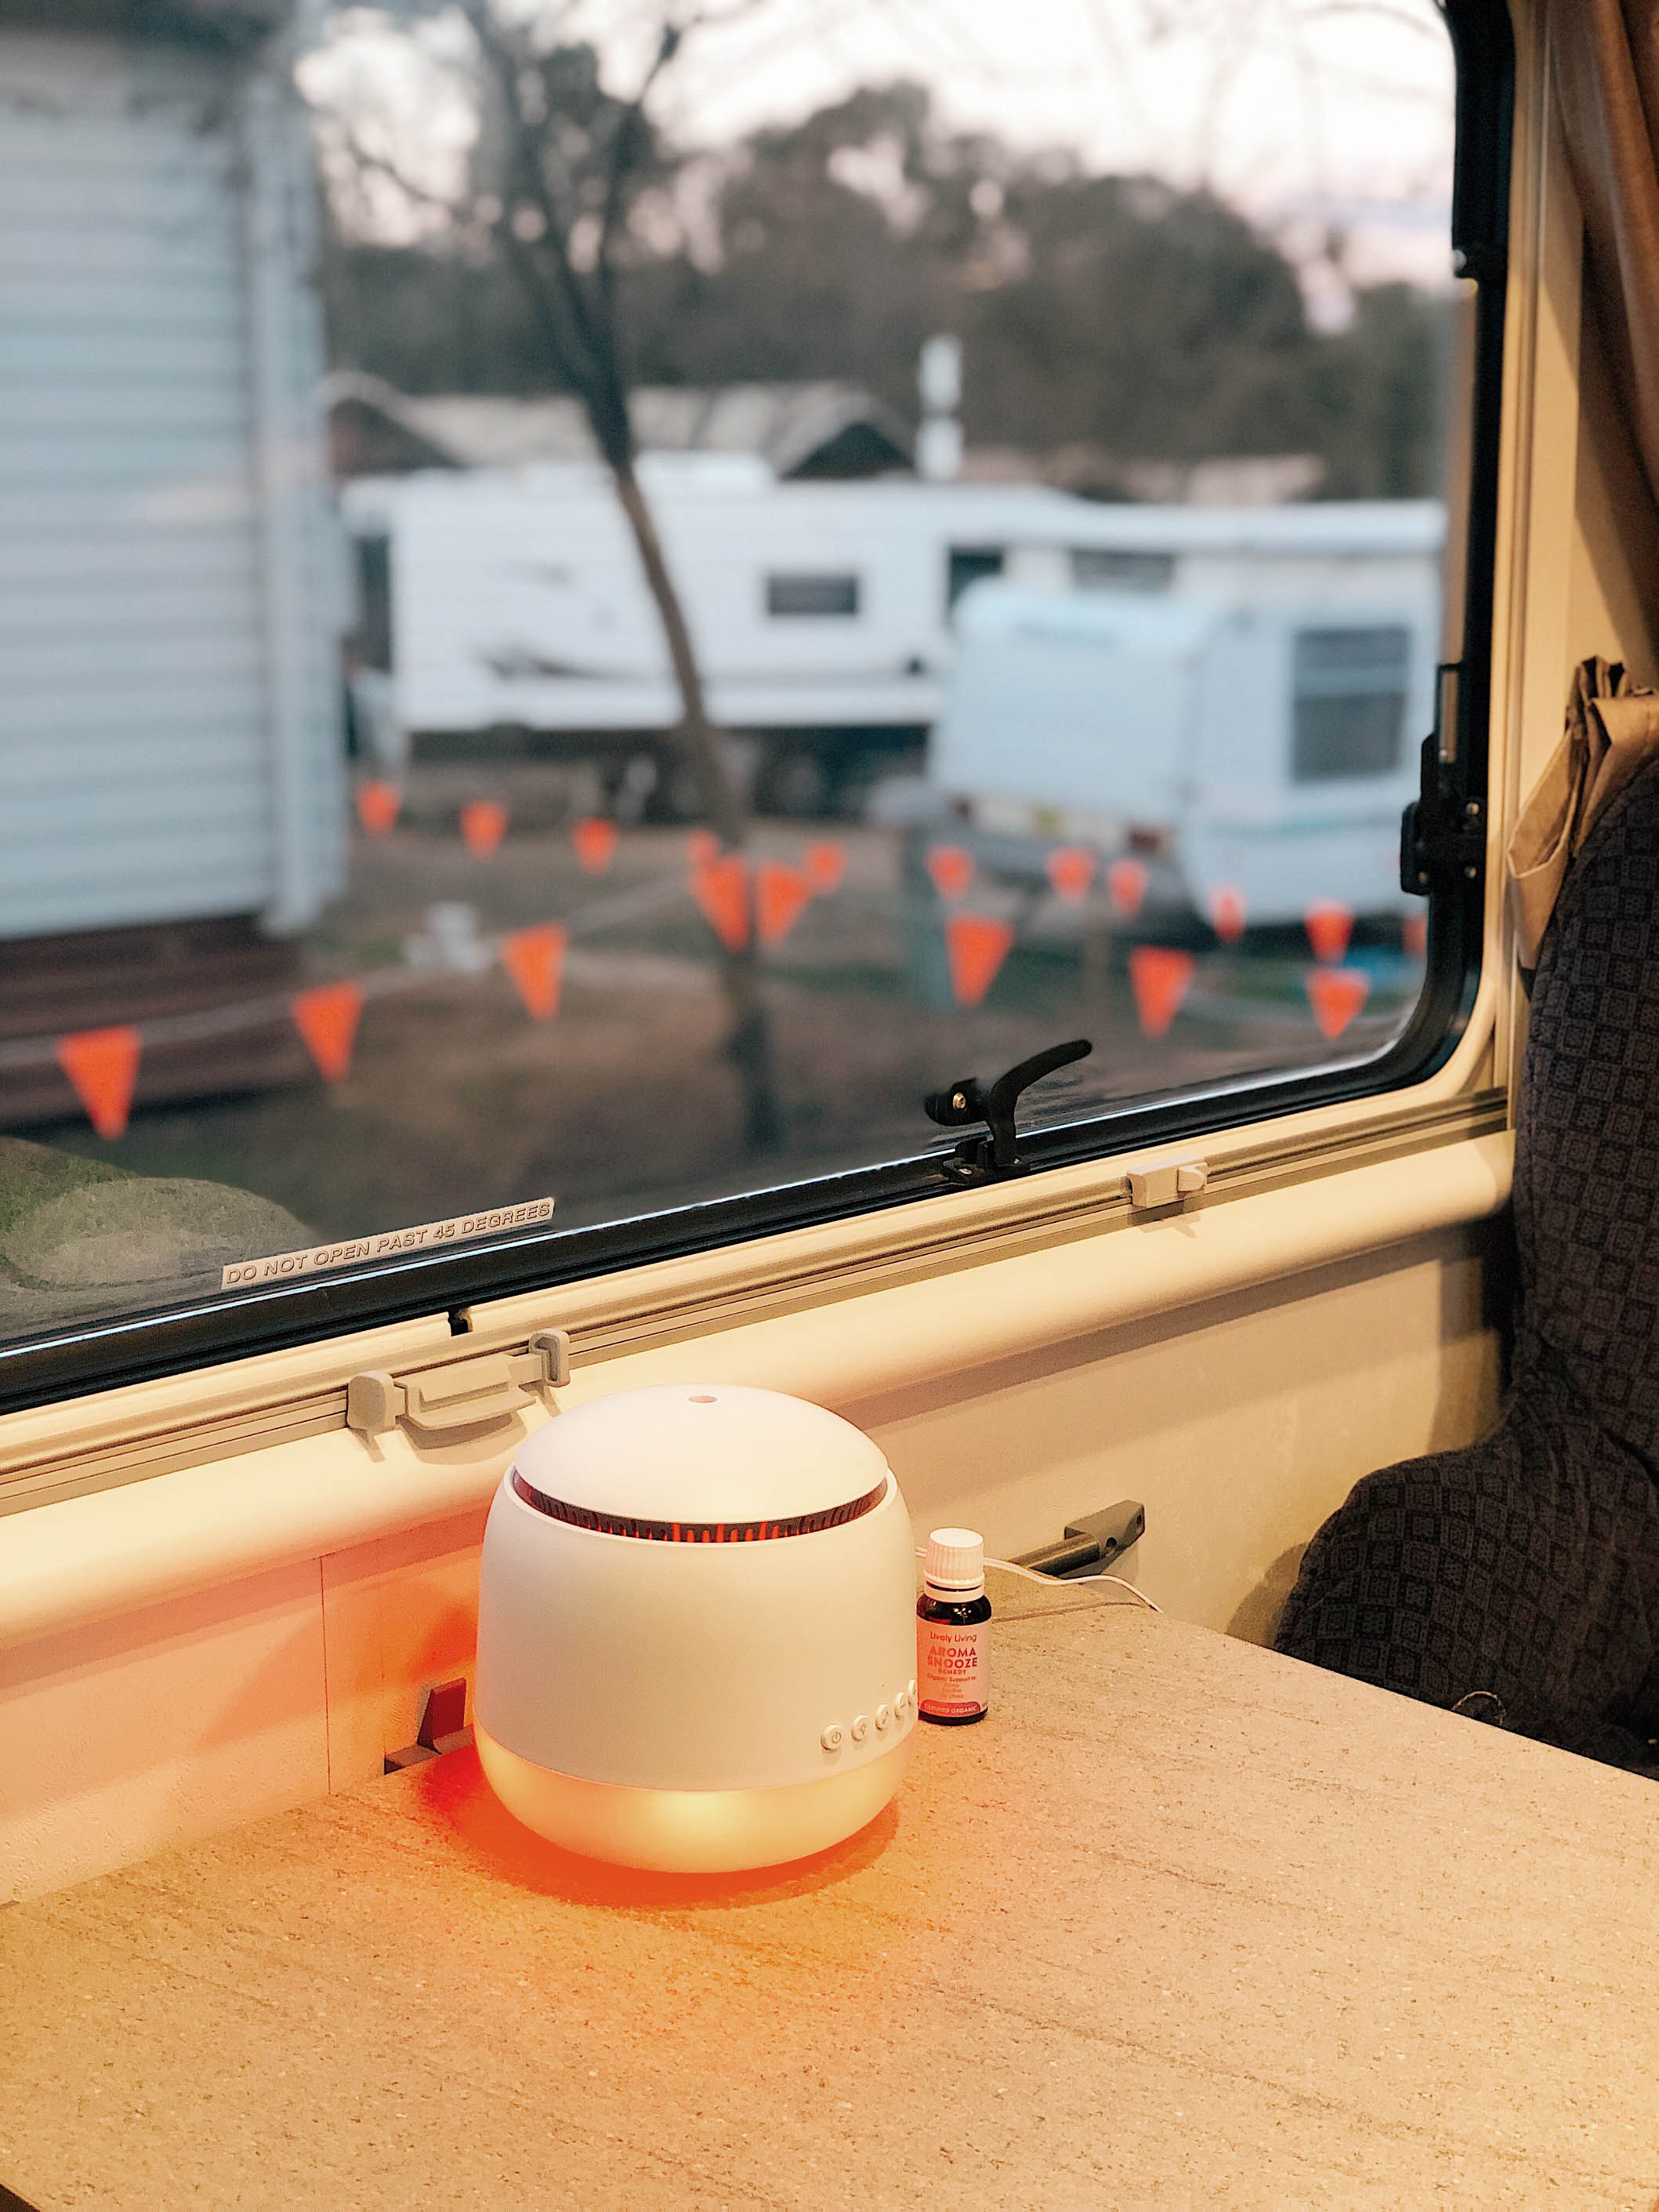
Of course, the greatest appeal of an RV trip is the freedom and flexibility whilst being able to enjoy the comforts of a home. Little things like an aromatherapy diffuser (our Aroma Snooze includes a soothing built-in white noise) can instantly evoke a sense of calm and familiarity, providing a level of comfort and security for children, especially if they’re used to having one at home.
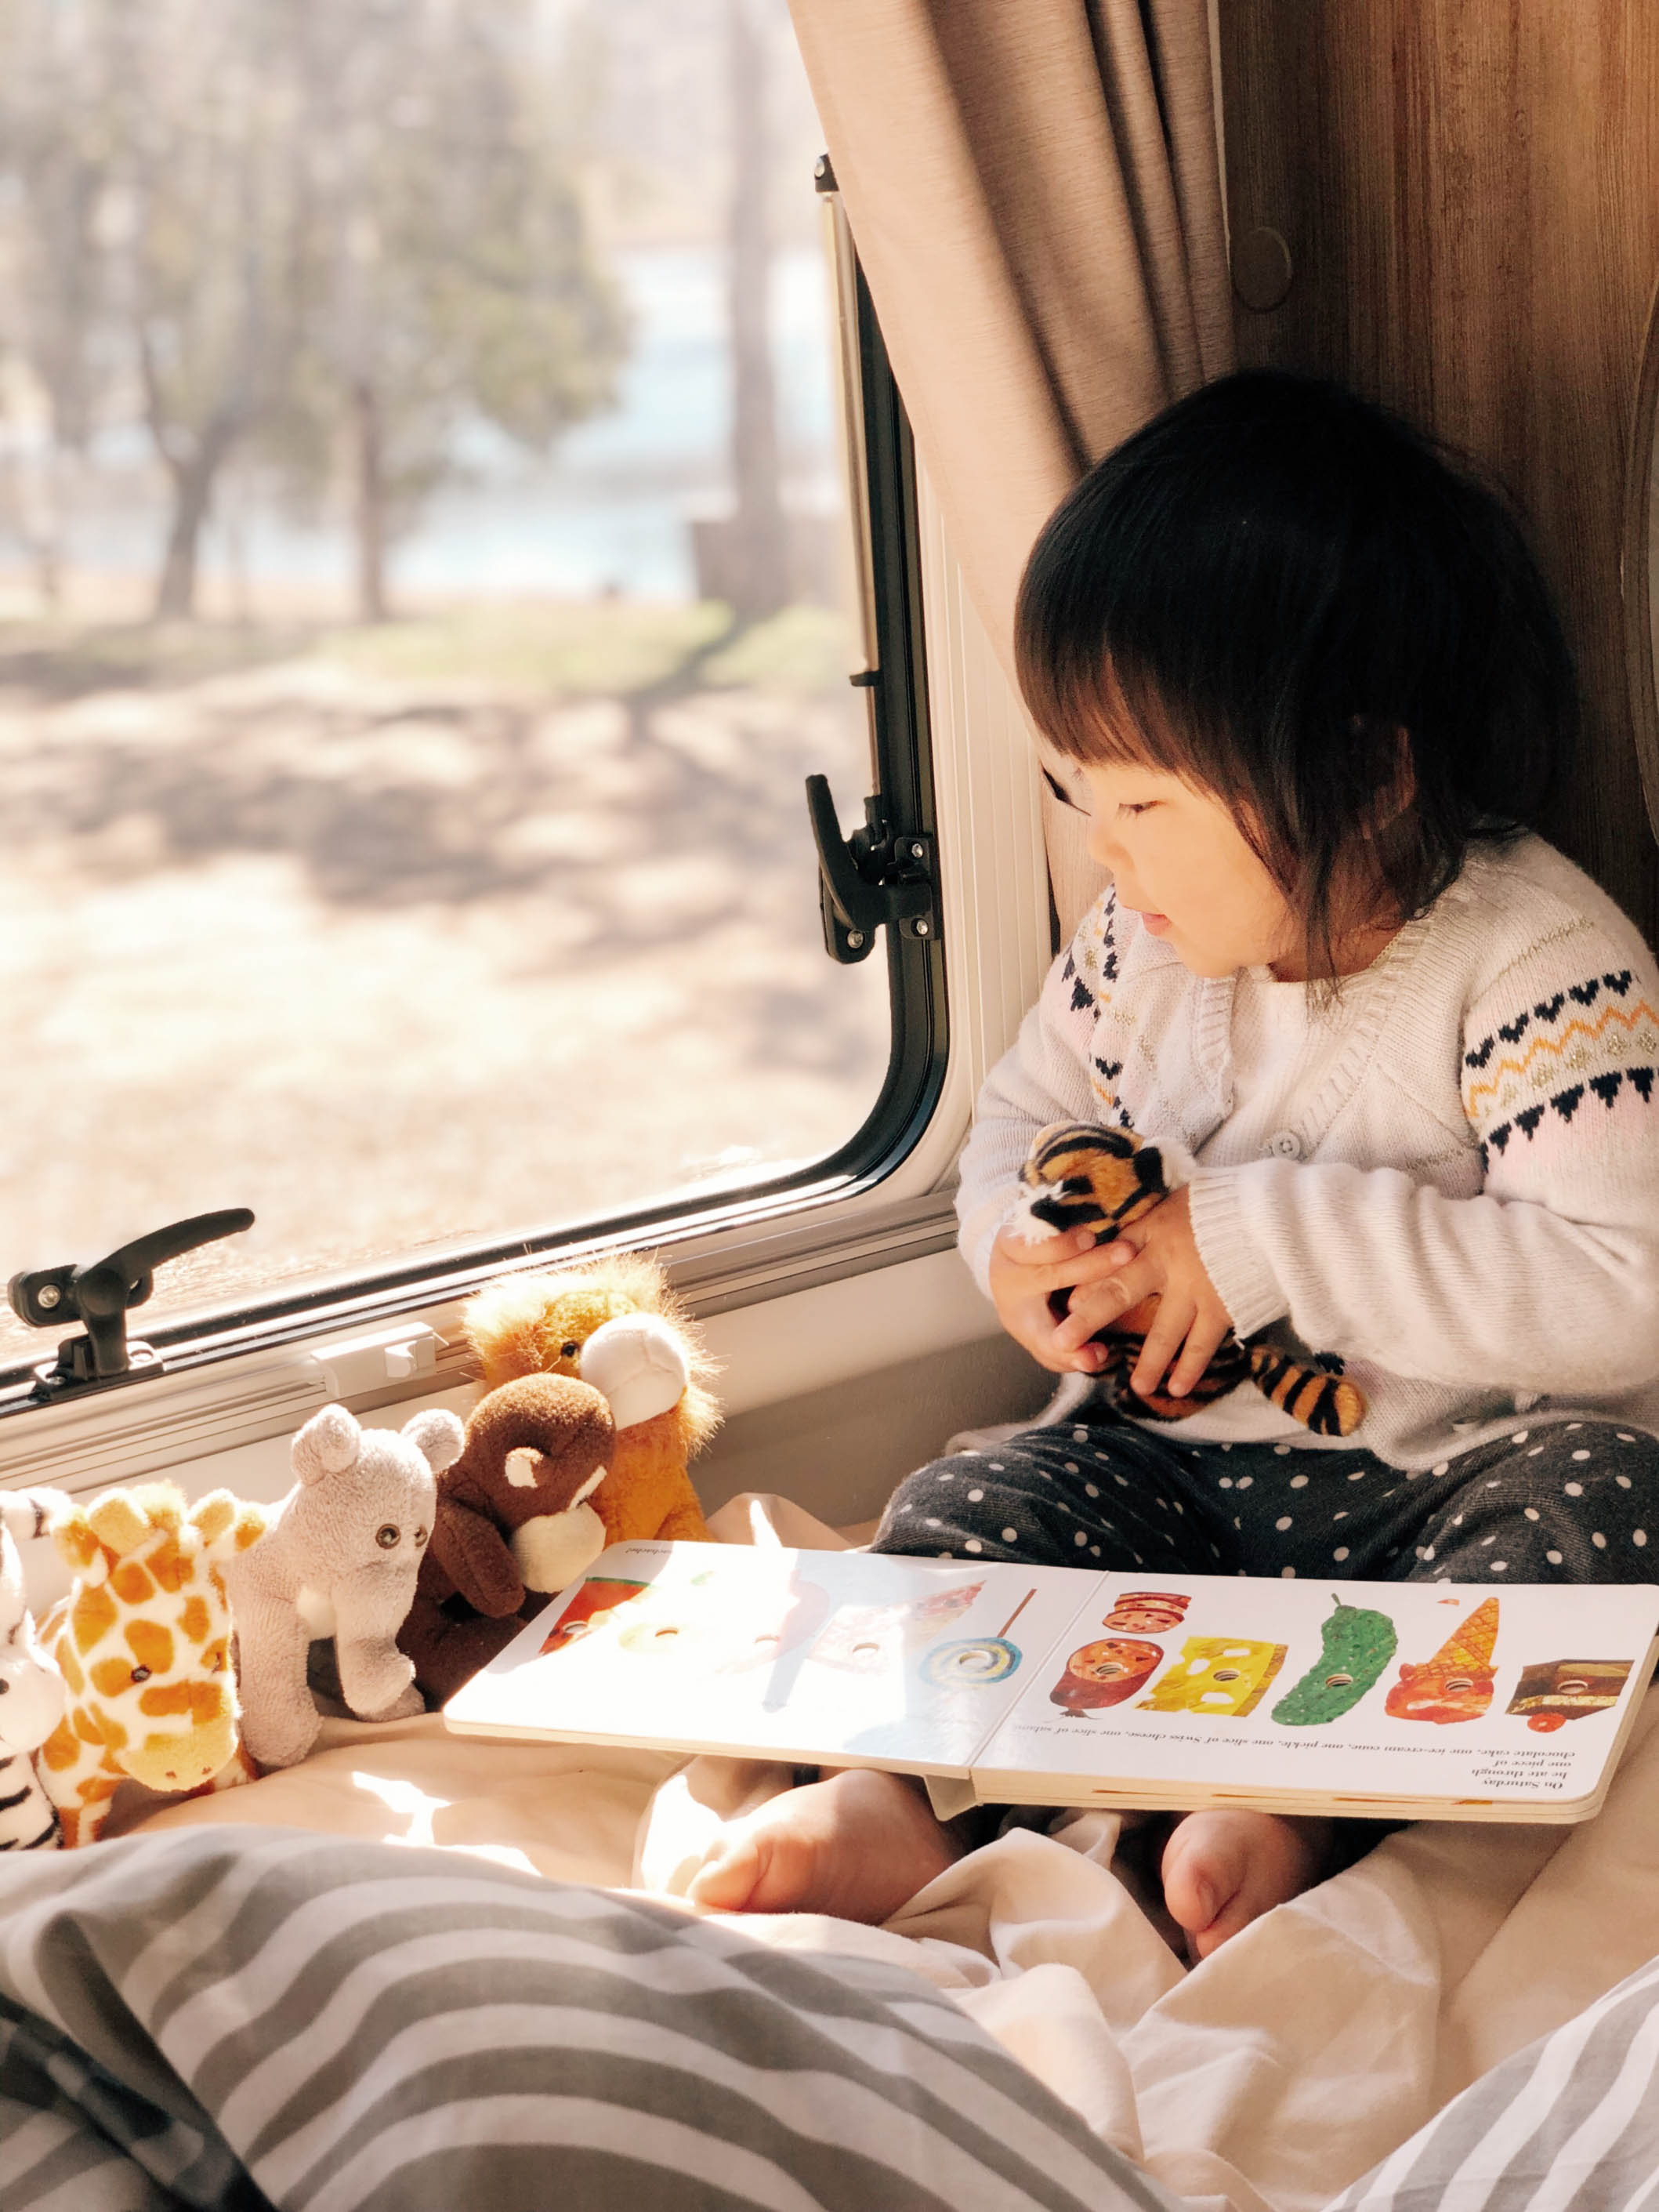
We also made sure to bring activities for a rainy day and quiet play time—homemade playdough, flash cards, crayons, and an assortment of books and toys.
I’m not sure if this is a given, but don’t forget their favourite blanket either!
A few other key items I highlighted on my packing list included:
Toiletries
- Bath stickers
- Kids shower gel & shampoo
- Toothpaste – kids & adult
- Hand sanitiser
First aid kit
- Thermometer
- Kids Panadol
- Nose Frida
Montessorify the space
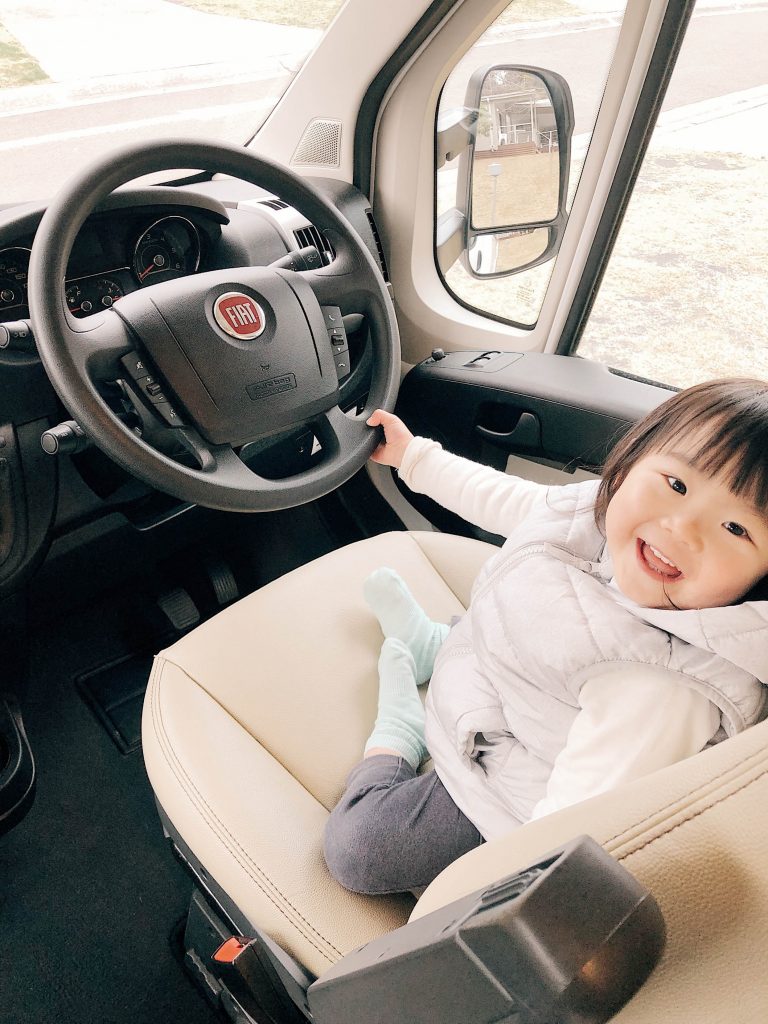
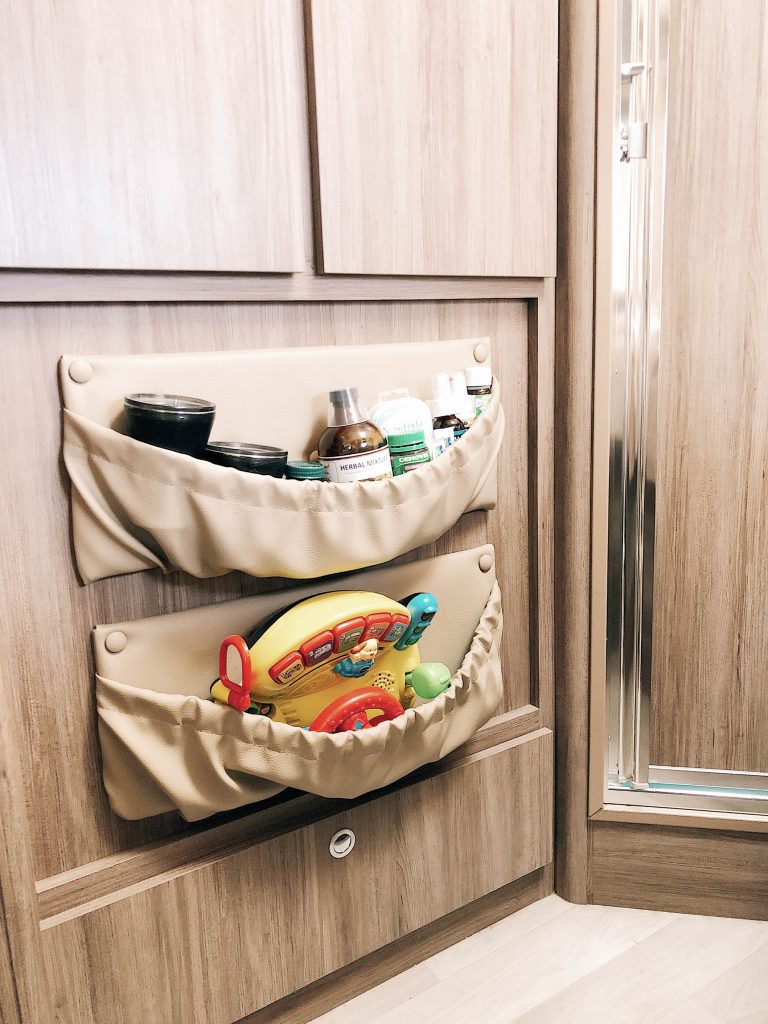
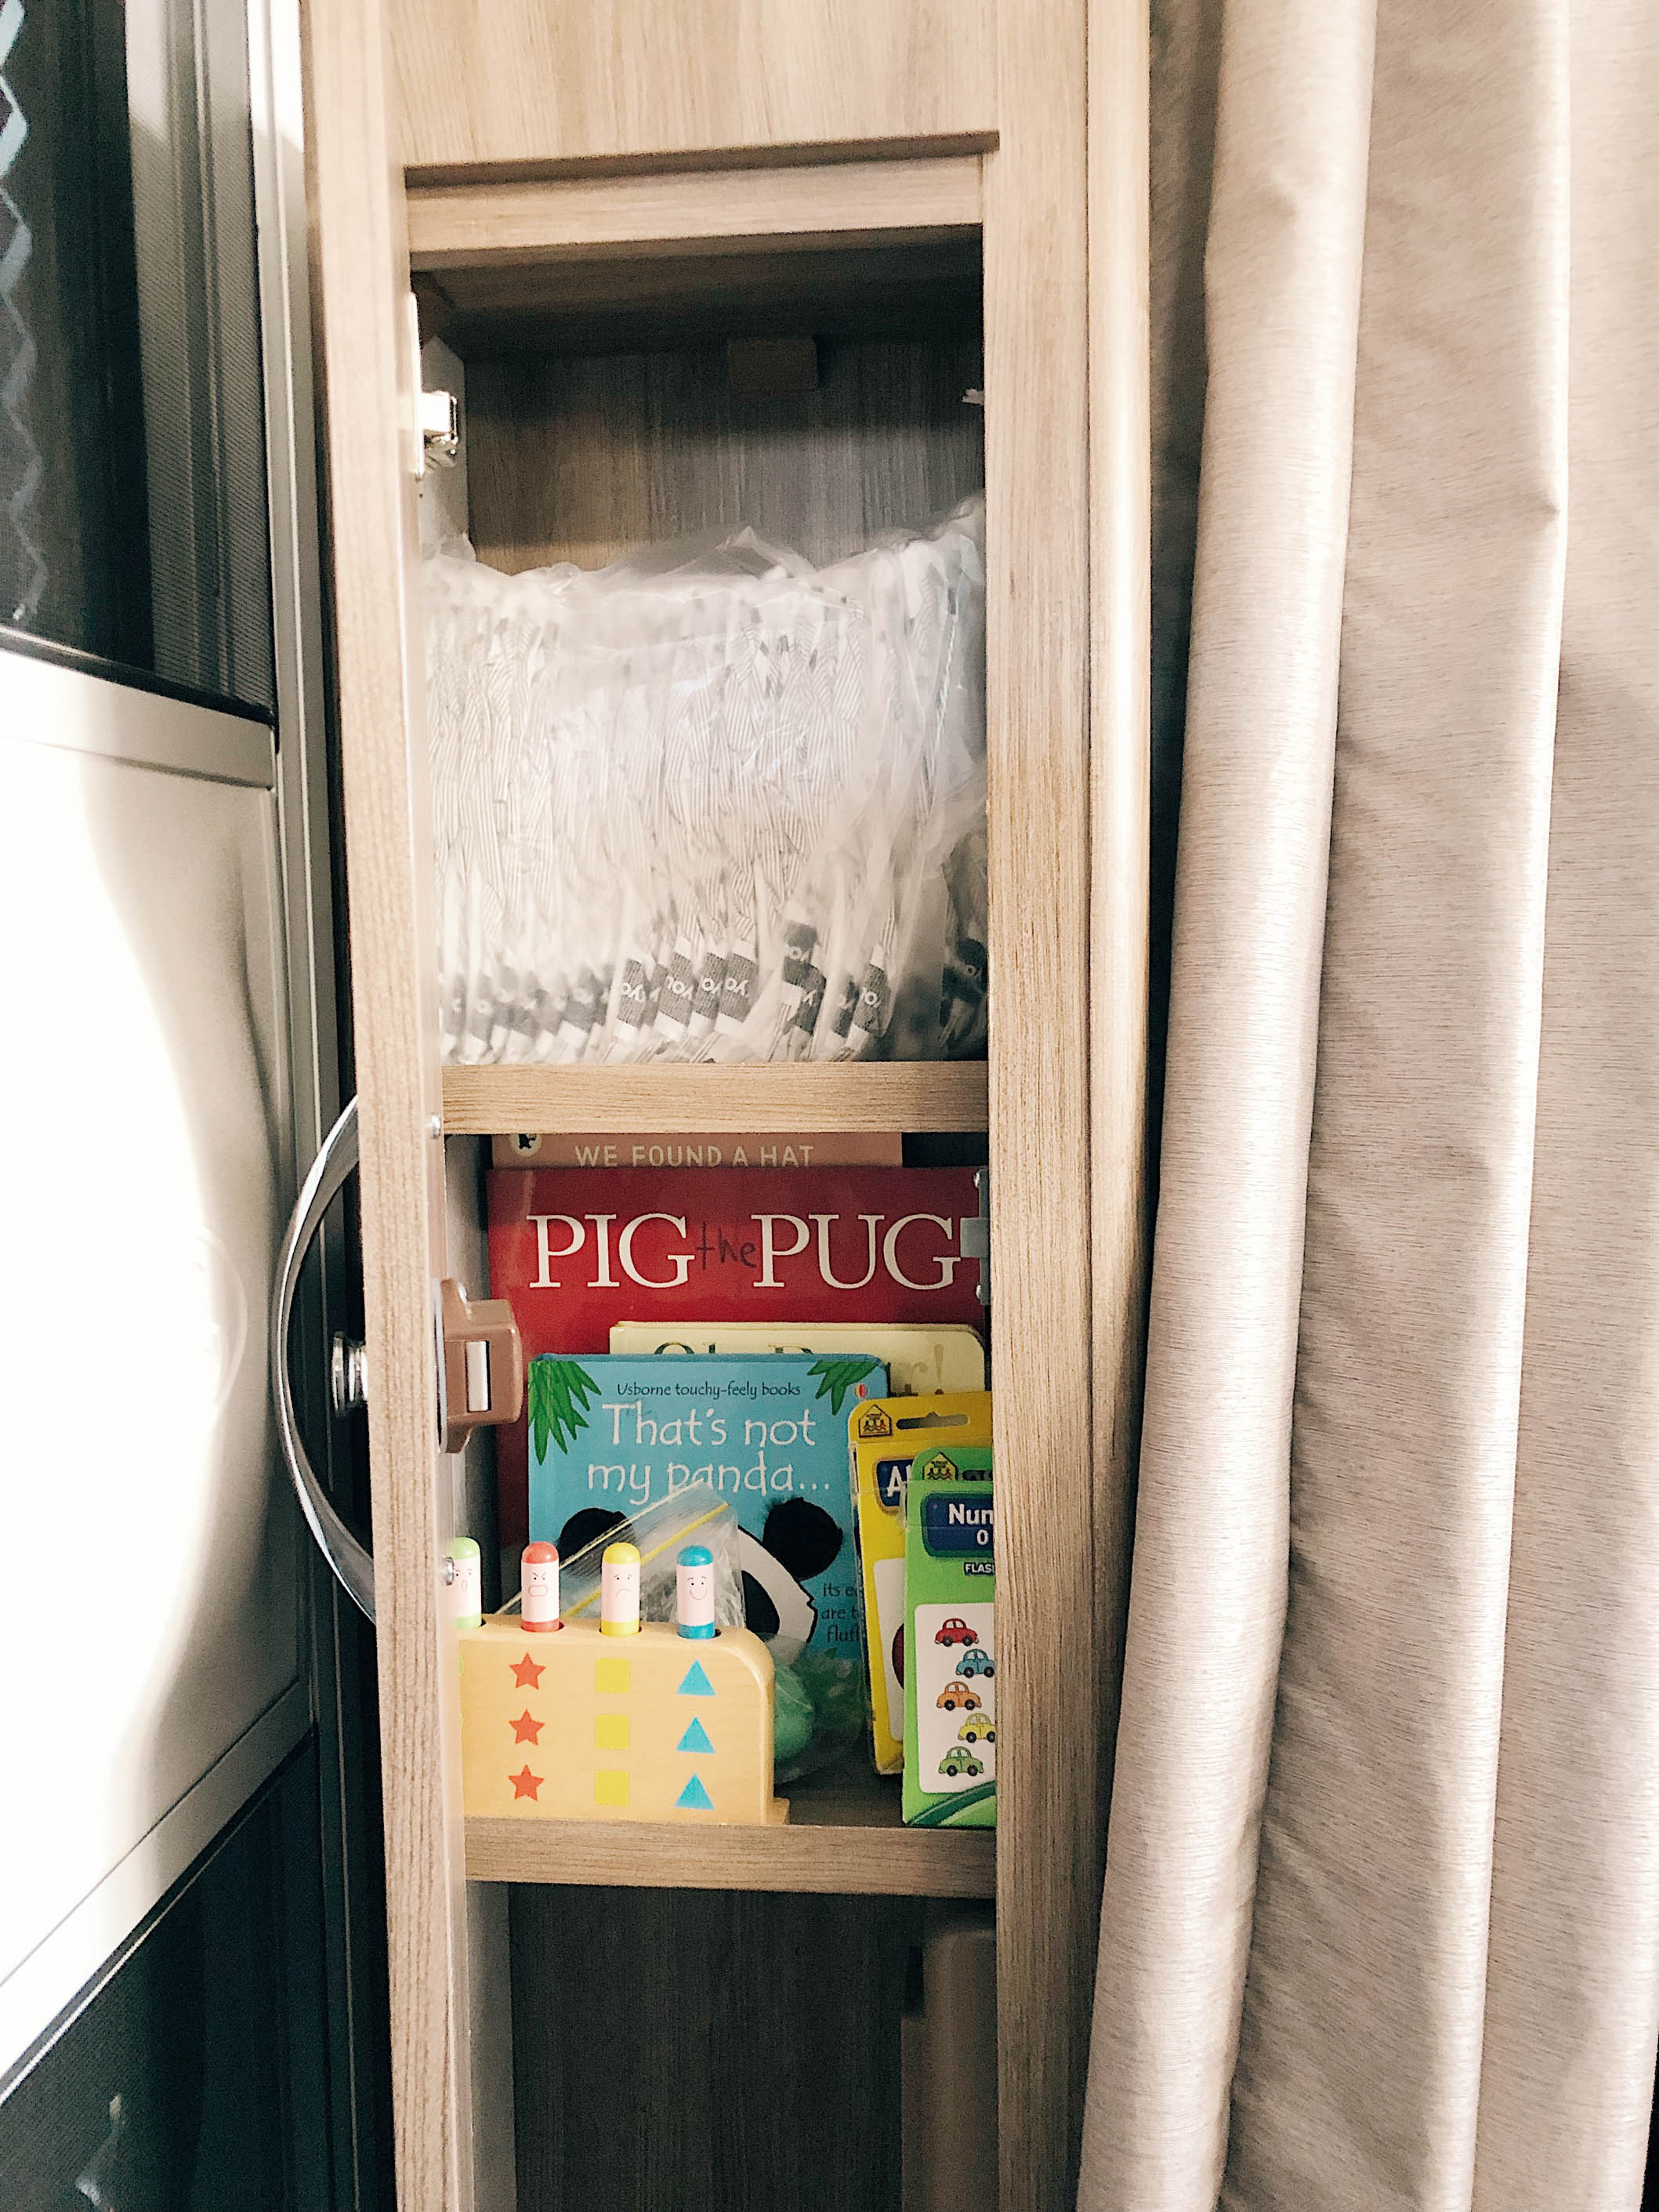
We provided Clara with her own low drawer so she could easily access her books, toys, snacks and shoes, and it made all the difference!
By empowering her independence, I felt that she took to the RV experience more easily as we tried to replicate the set-up from home.
All the drawers and cabinets have a push-button lock mechanic so it’s naturally baby-proofed. Every time we were stationary, I simply left her drawer unlocked so it was accessible.
Research your campgrounds
Depending on where you travel, some campgrounds have year-round visitors so you may need to book ahead of time. We were advised that pre-booking a campsite is particularly crucial if travelling to or around Byron Bay but it’s otherwise fine to book just a day ahead or even to rock up on the day.
We paid between $30 – $43 per night for each powered campsite and the quality of the facilities varied pretty significantly.
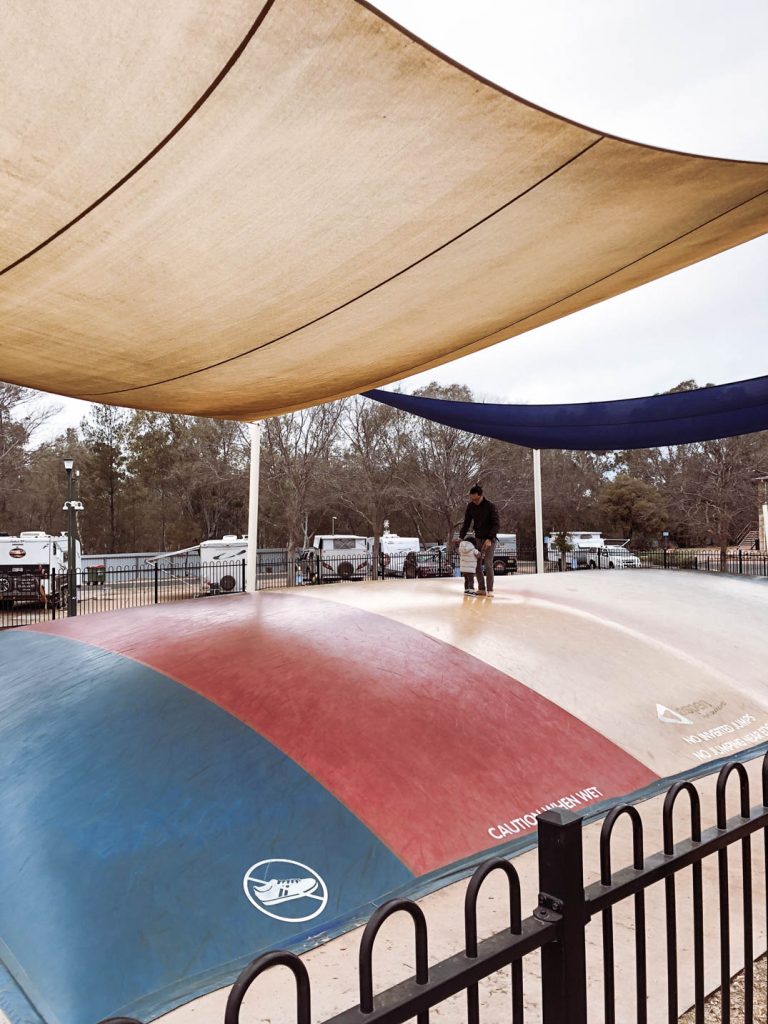
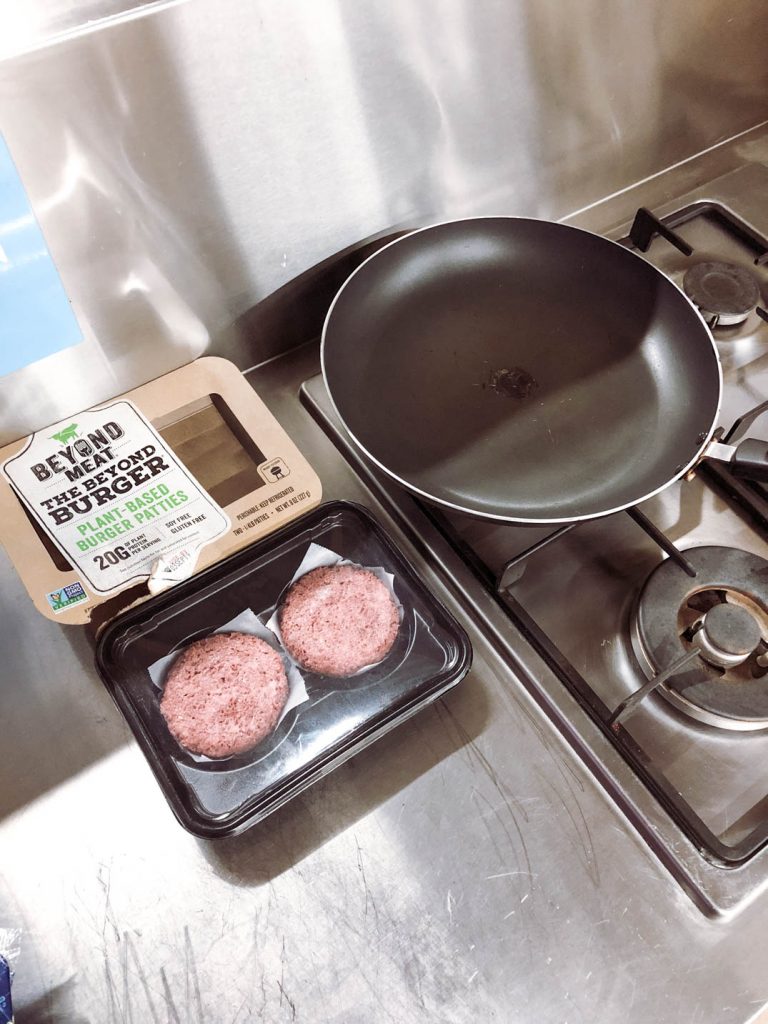
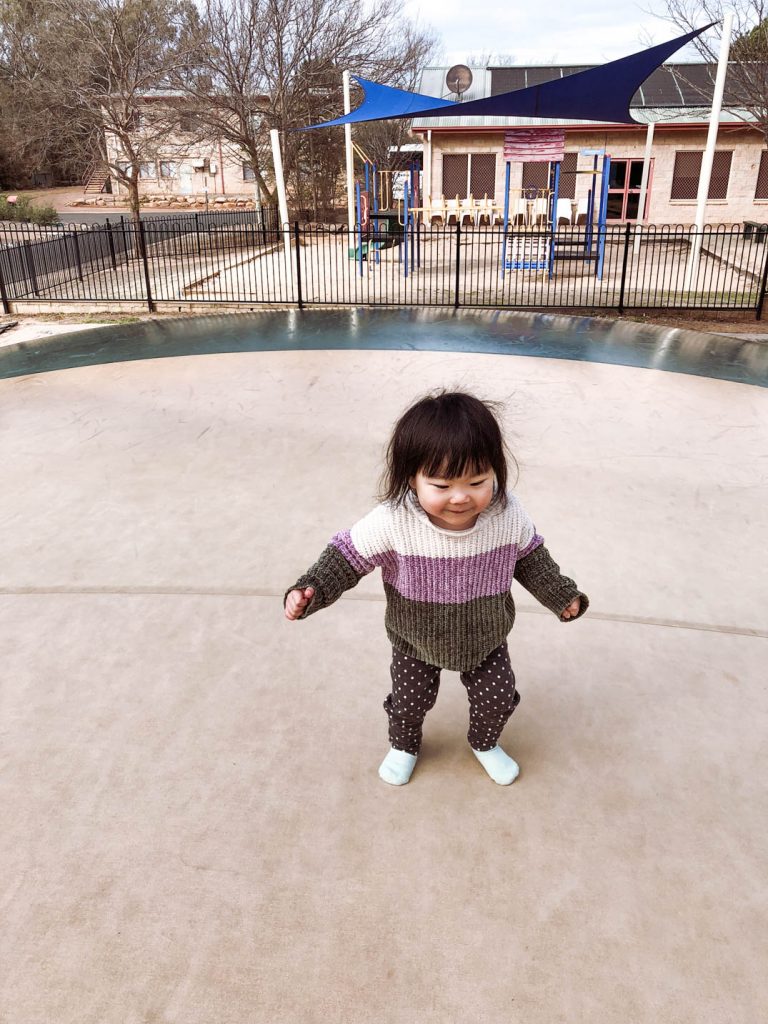
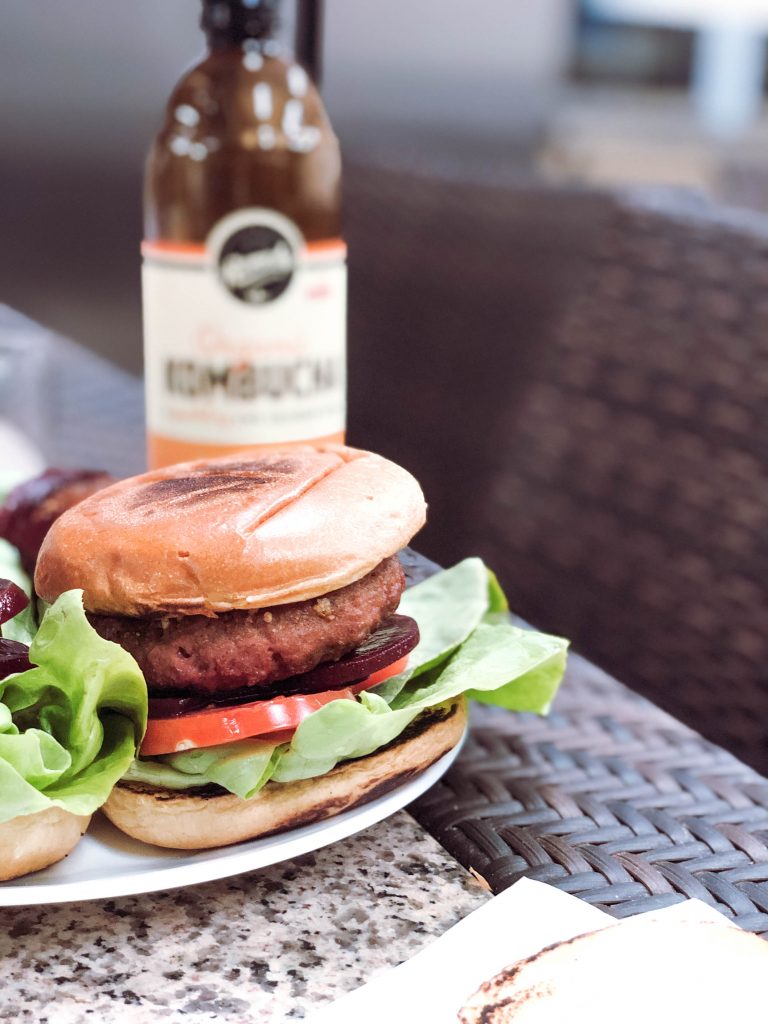
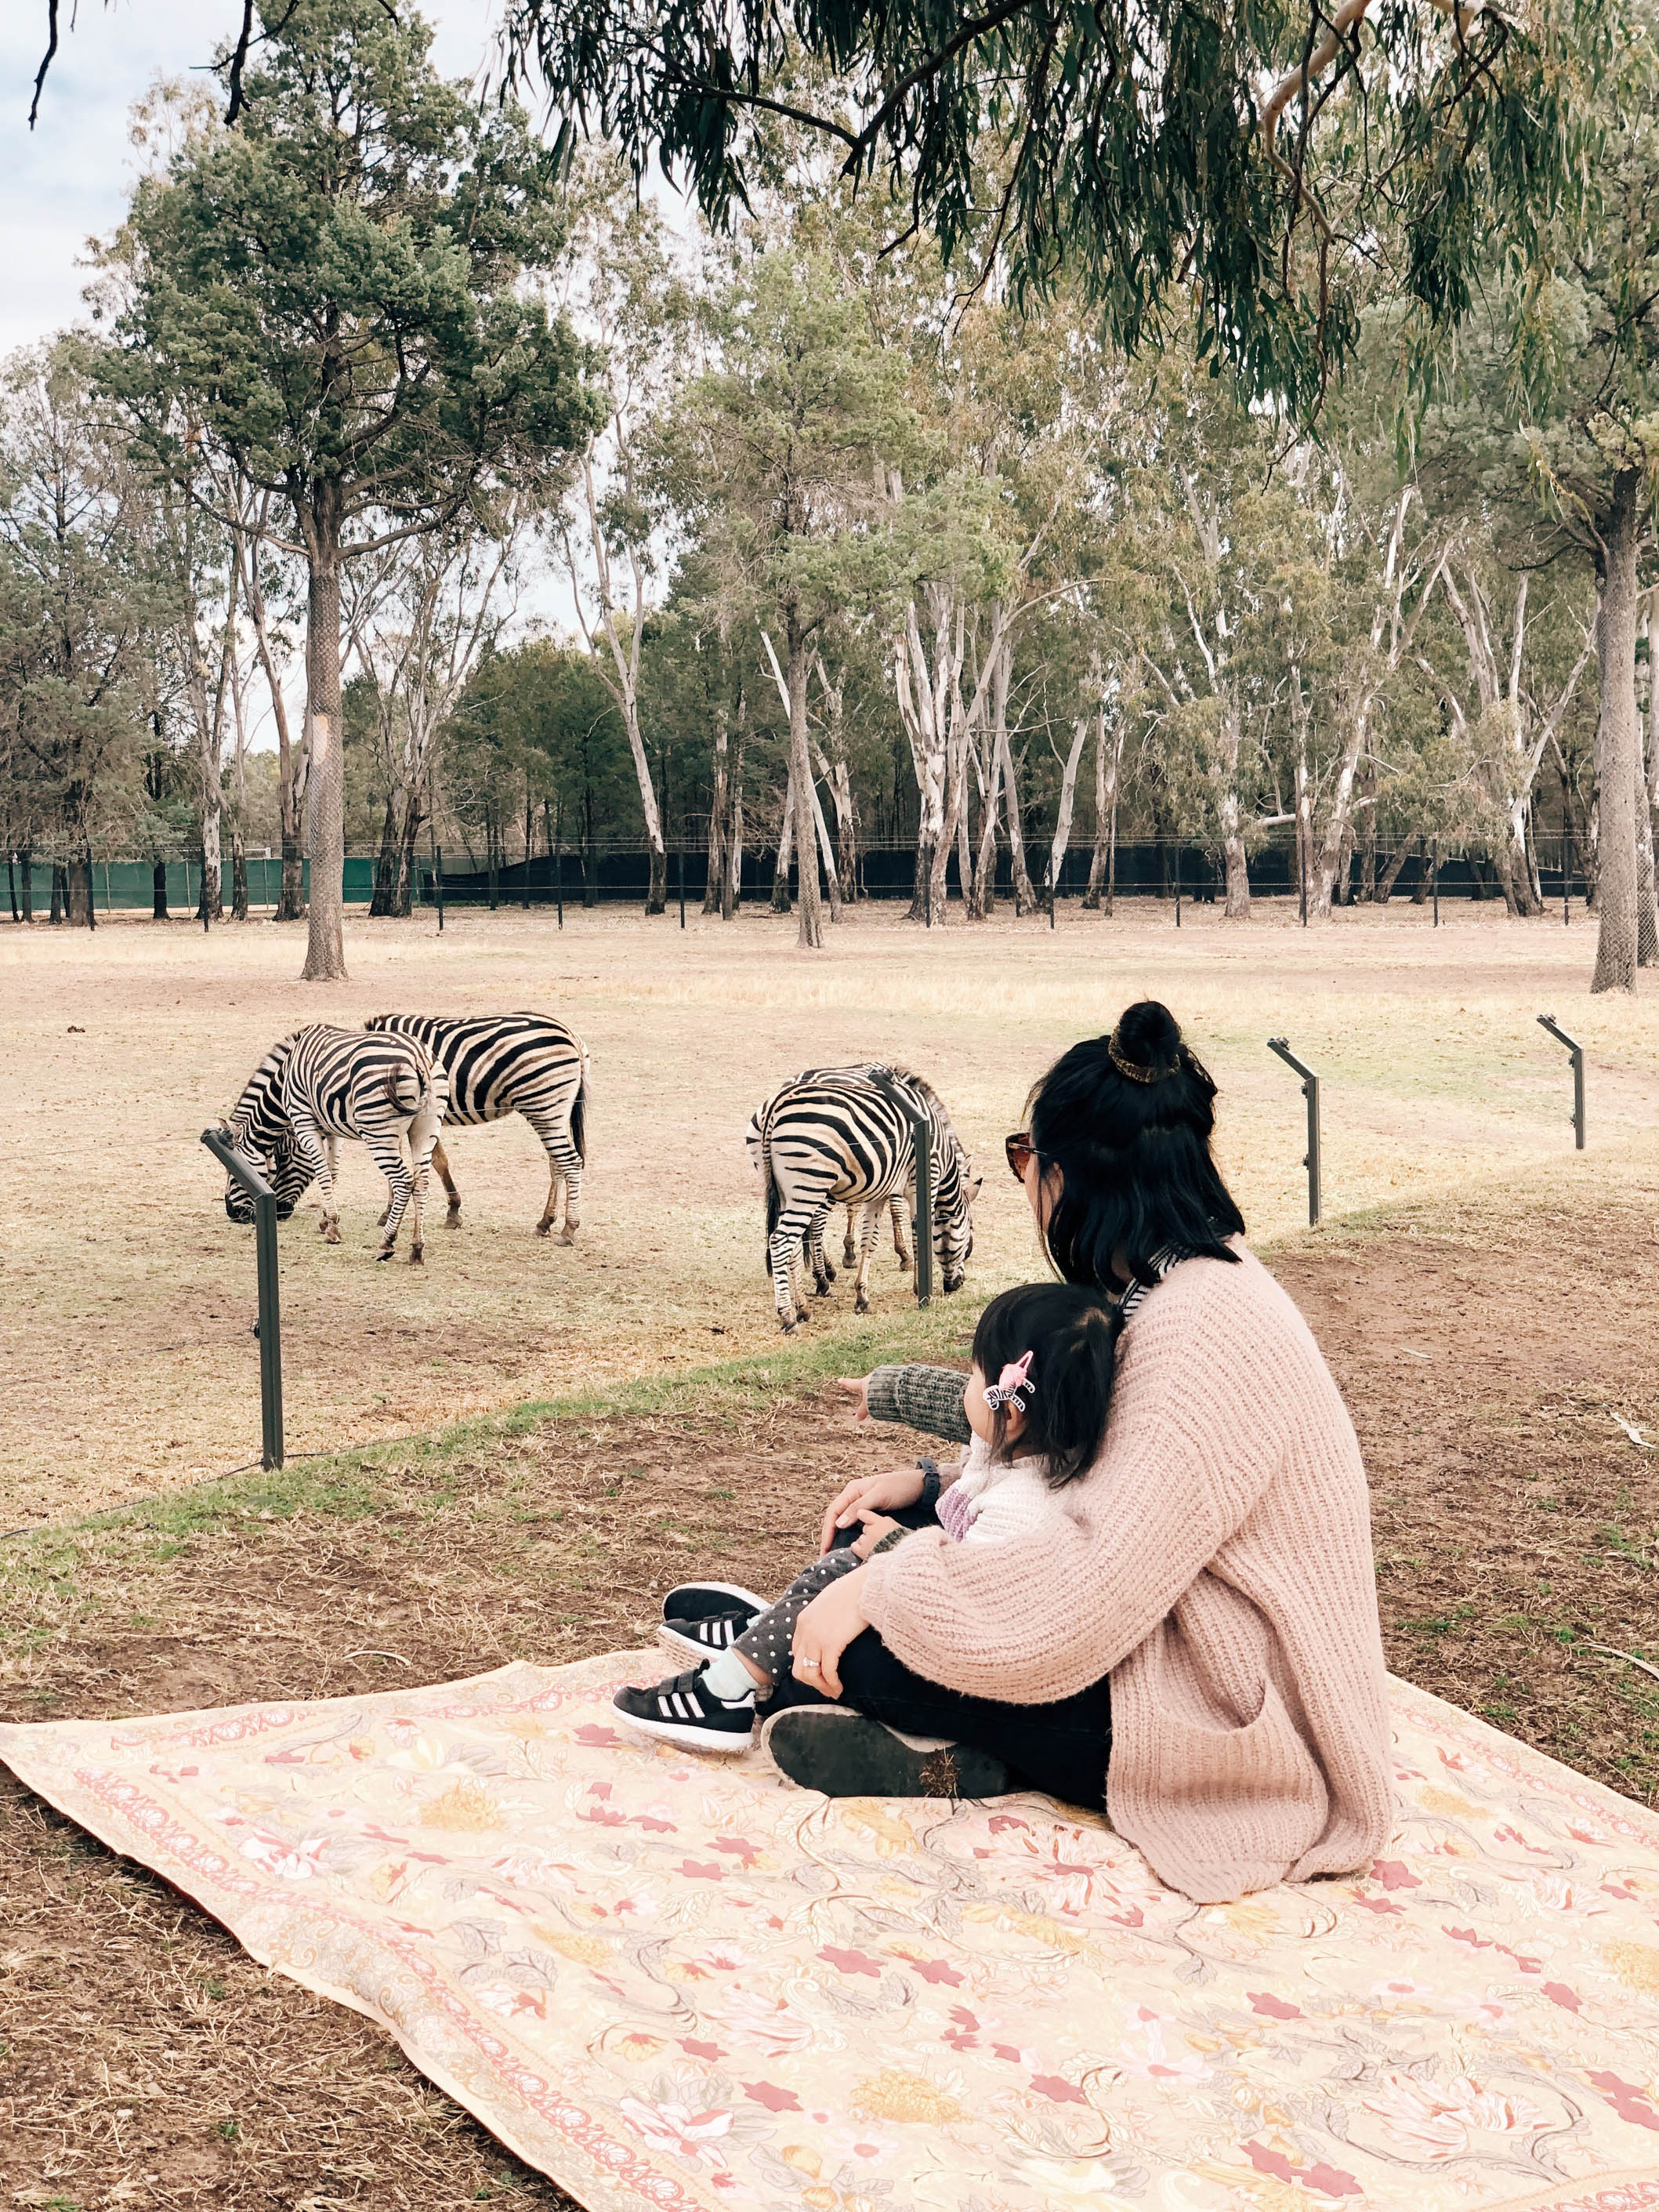
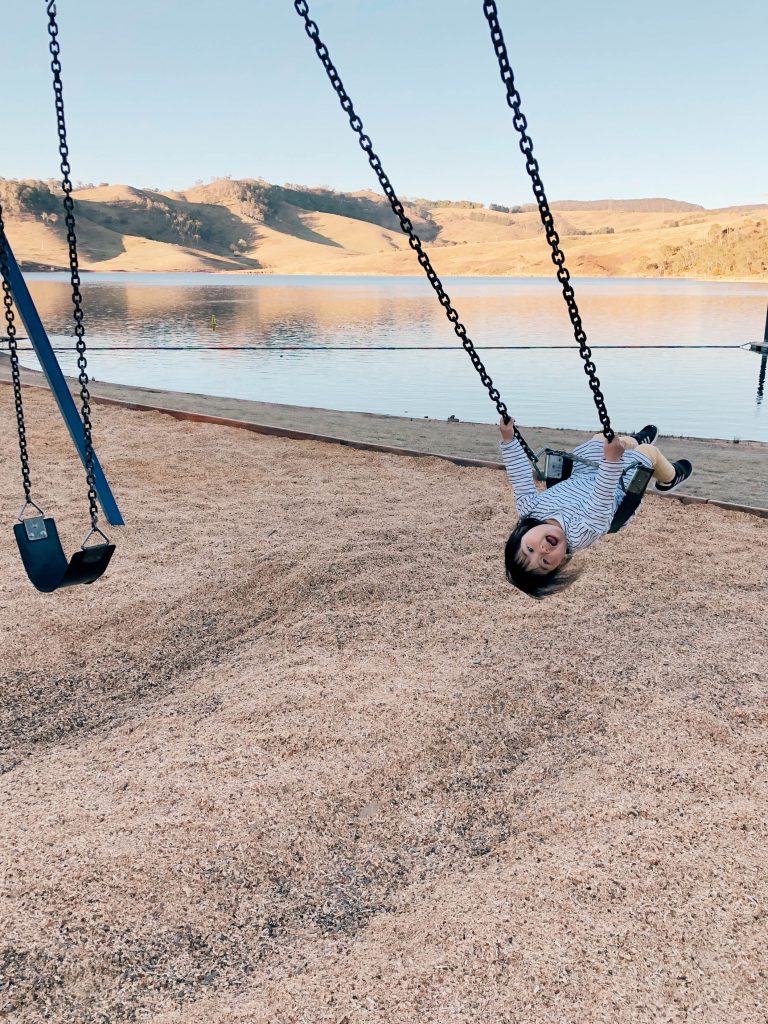
The best value we experienced was at Discovery Parks – Dubbo which was $33/night. Clara’s highlight would have been the water playground and the jumping pillow, and for me, it was so refreshing to have access to a modern gas kitchen and we loved dining in the beautiful open air on the wicker dining sets. It was a bonus that the caravan park was nestled minutes away from Dubbo Zoo!
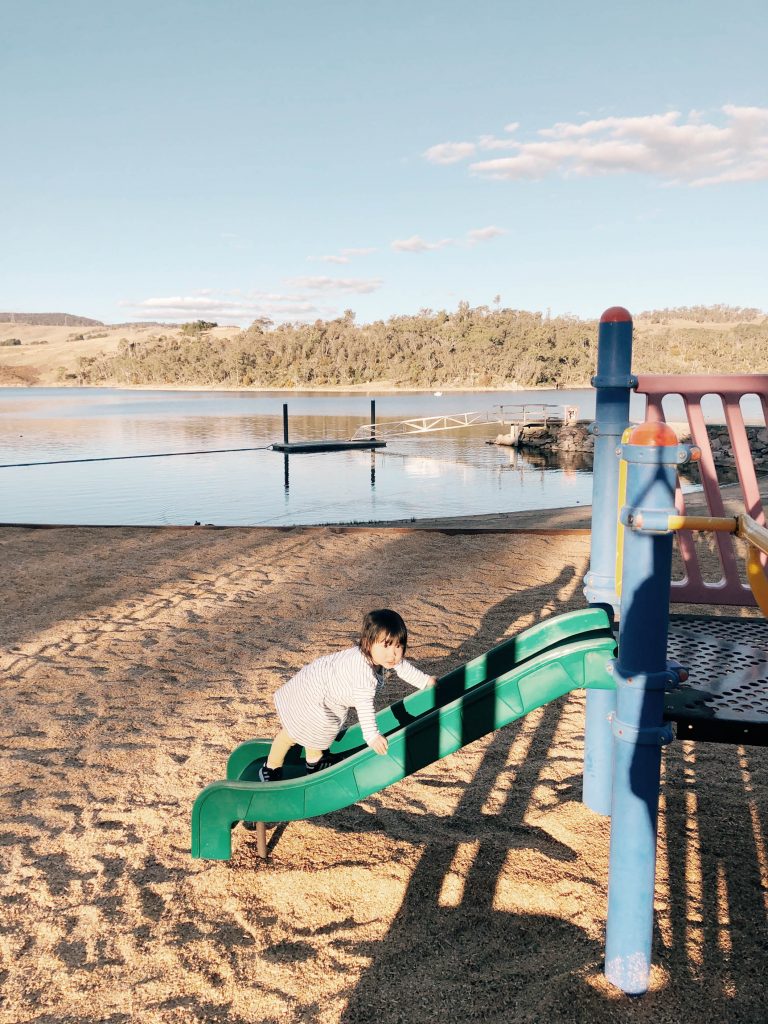
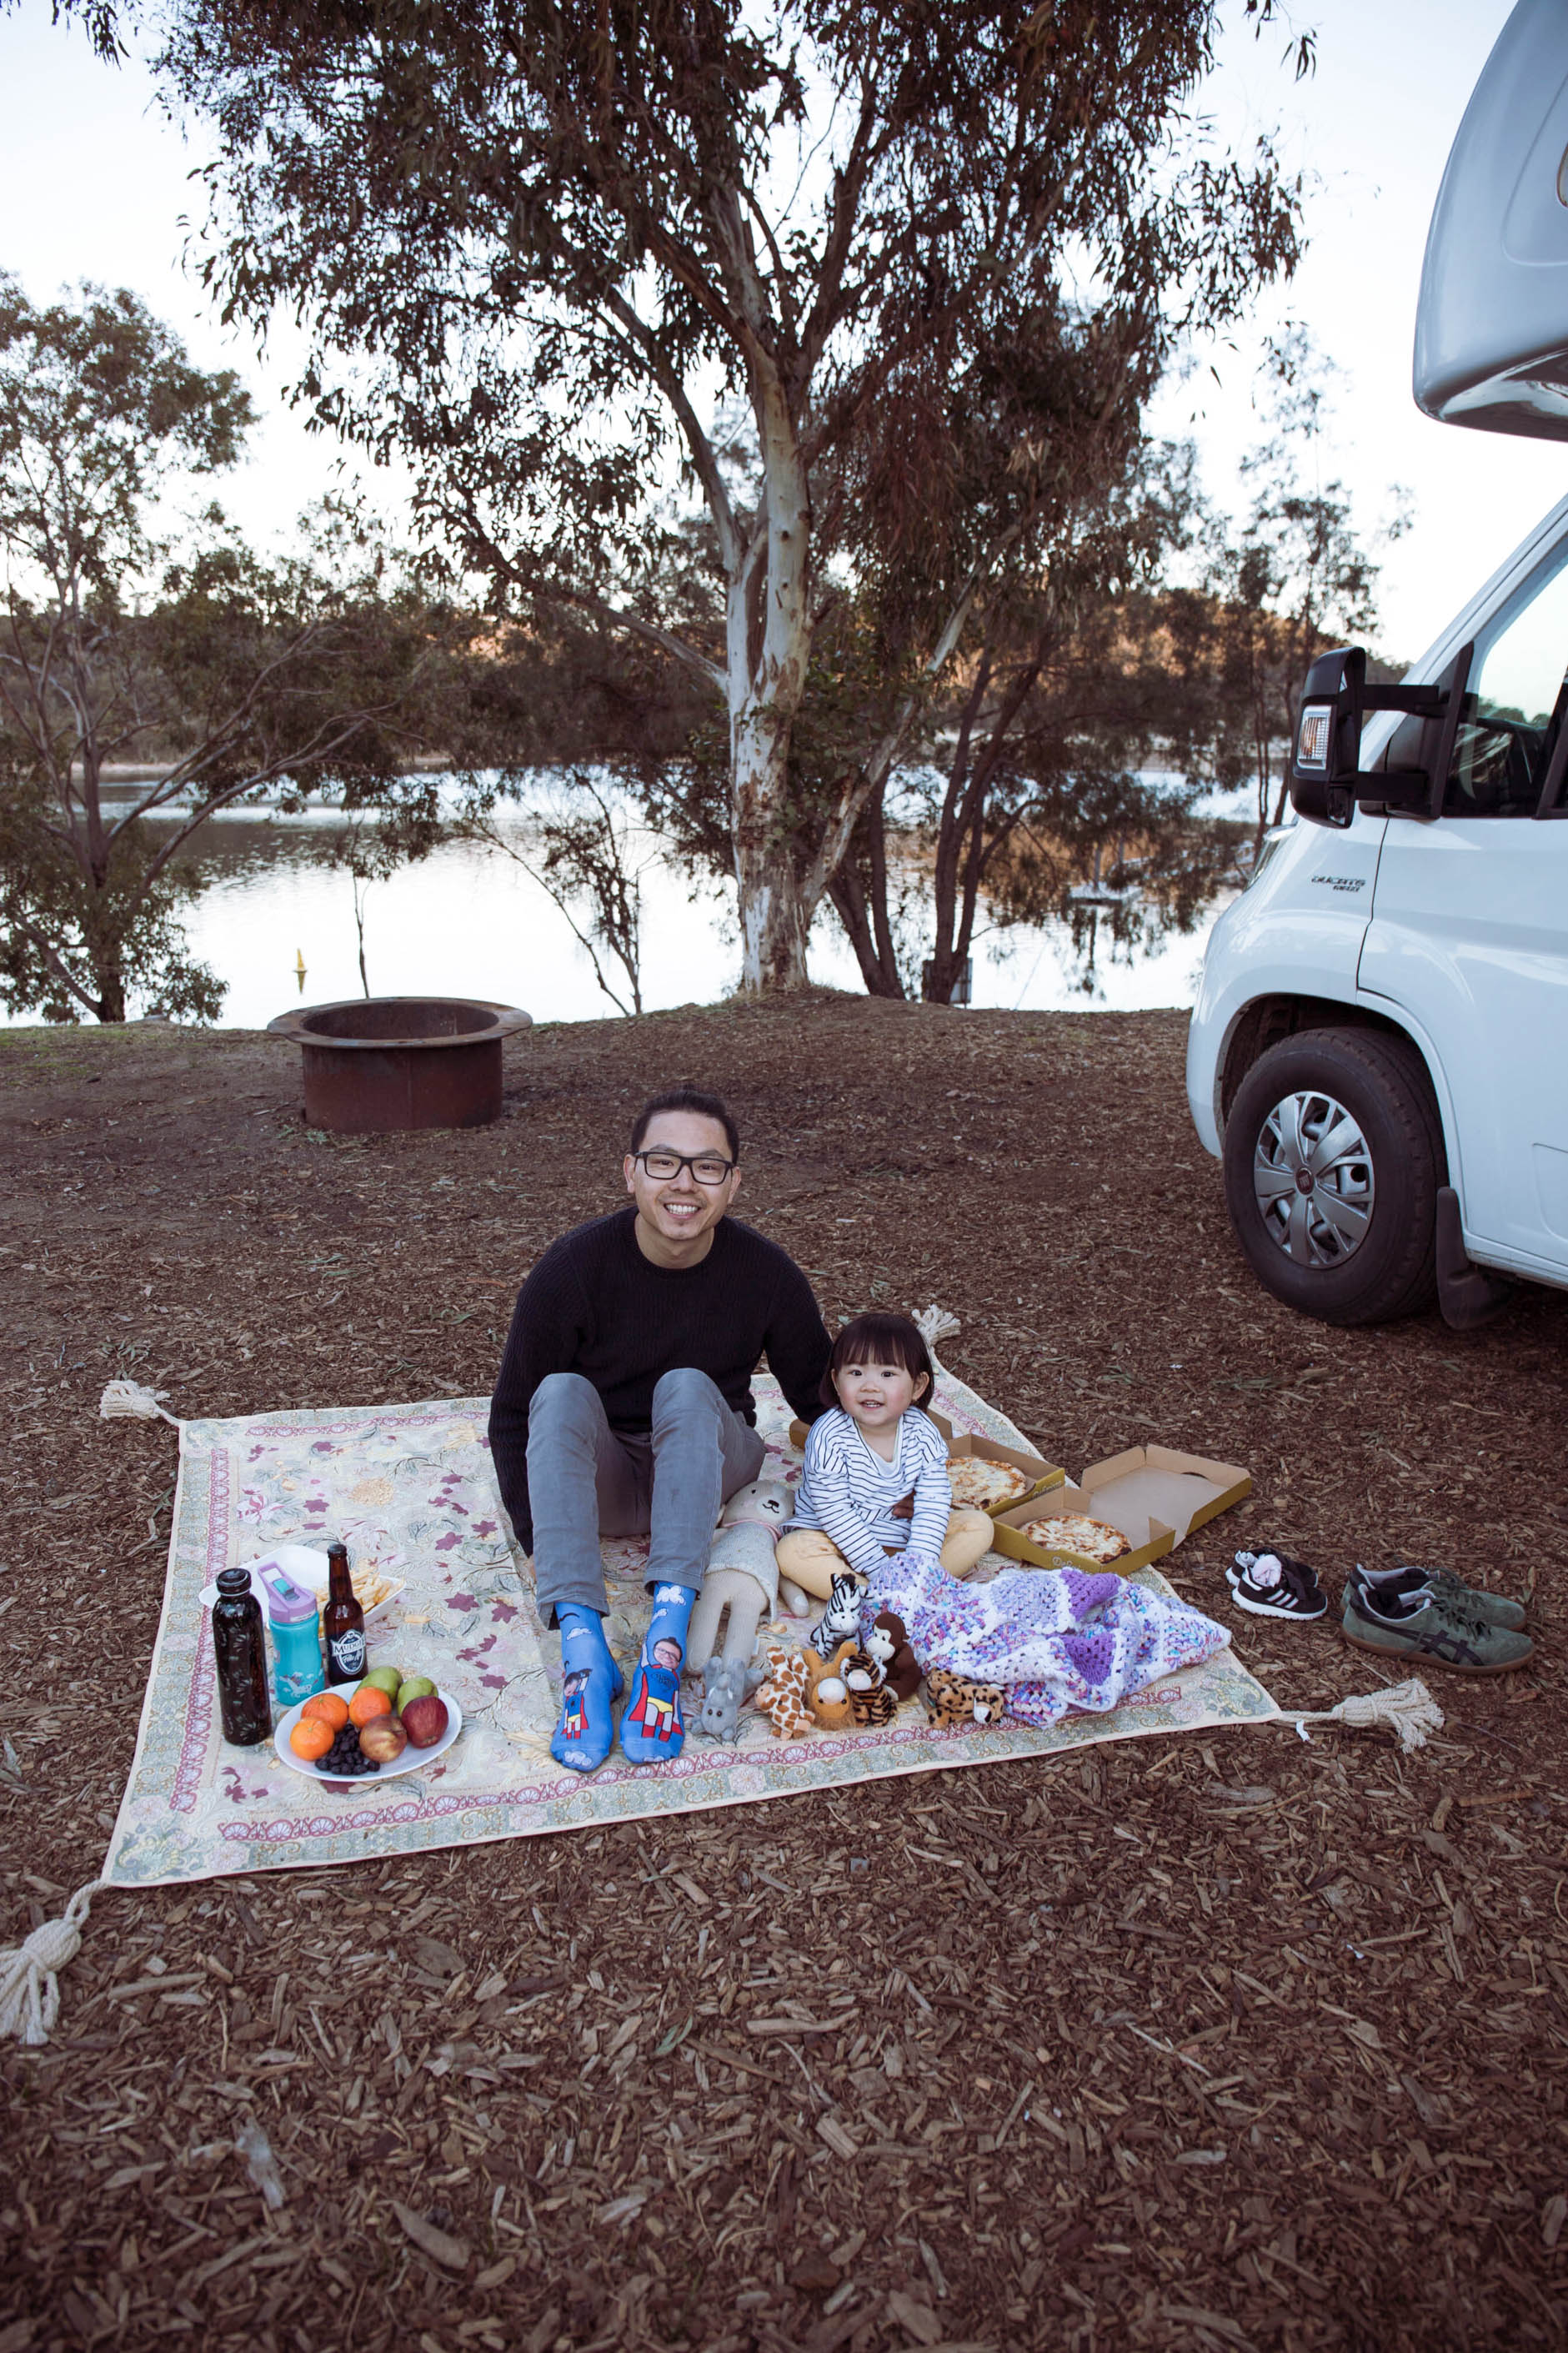
We’d also 100% return to Lake Lyell which was the cheapest at $30/night. It didn’t have a fresh water hose connection but it wasn’t a deal breaker.
Be prepared to co-sleep
Clara has always loved sleeping in the portacot when we travelled every other time but we had to co-sleep on this trip. My instinct tells me that it wasn’t the environment of the RV that caused her to not want to sleep by herself, but the separation anxiety from the suspected developmental leap.
The timing of a trip, any trip, is a biggie if you’re in the process of weaning off breastfeeding.
We co-slept between the age of 9 months to 15 months so we’re no strangers to co-sleeping. There’s nothing sweeter than seeing how happy she is when she wakes up beside me. However, I was a little disheartened when Clara needed to breastfeed to sleep, and also nurse throughout the night. At 24 months old, prior to the trip, she was beginning to drop her morning feeds and we were down to just one breastfeeding session before she went to bed. Since returning from the trip, Clara has gone back to sleeping through the night in her own room but in terms of weaning, it feels like we’re back to where we were months ago. So my takeaway from this, is to hold off on travelling if you’re in the process of weaning, if you don’t want to disrupt the process.
Take main roads
We played it safe when it came to driving the RV due to its size and the fact that we were travelling in unfamiliar territory. We always tried to avoid small streets and were cautious of big hills and high winds.
We had a scare at Milroy Observatory due to the steep climb on a cliff side turn, but aside from that, we found it easier to generally park a little further away.
Tip: Phone reception may be unreliable in some regional towns so take screenshots of directions to campgrounds!
Disclosure: I occasionally use affiliate links to monetise my content. I may receive a commission on products or services that you purchase through clicking on links within this page. This doesn’t affect your price in any way, but helps me with the cost of maintaining my website so that I may continue to share resources to help you embrace play-based learning and mindful parenting.
